
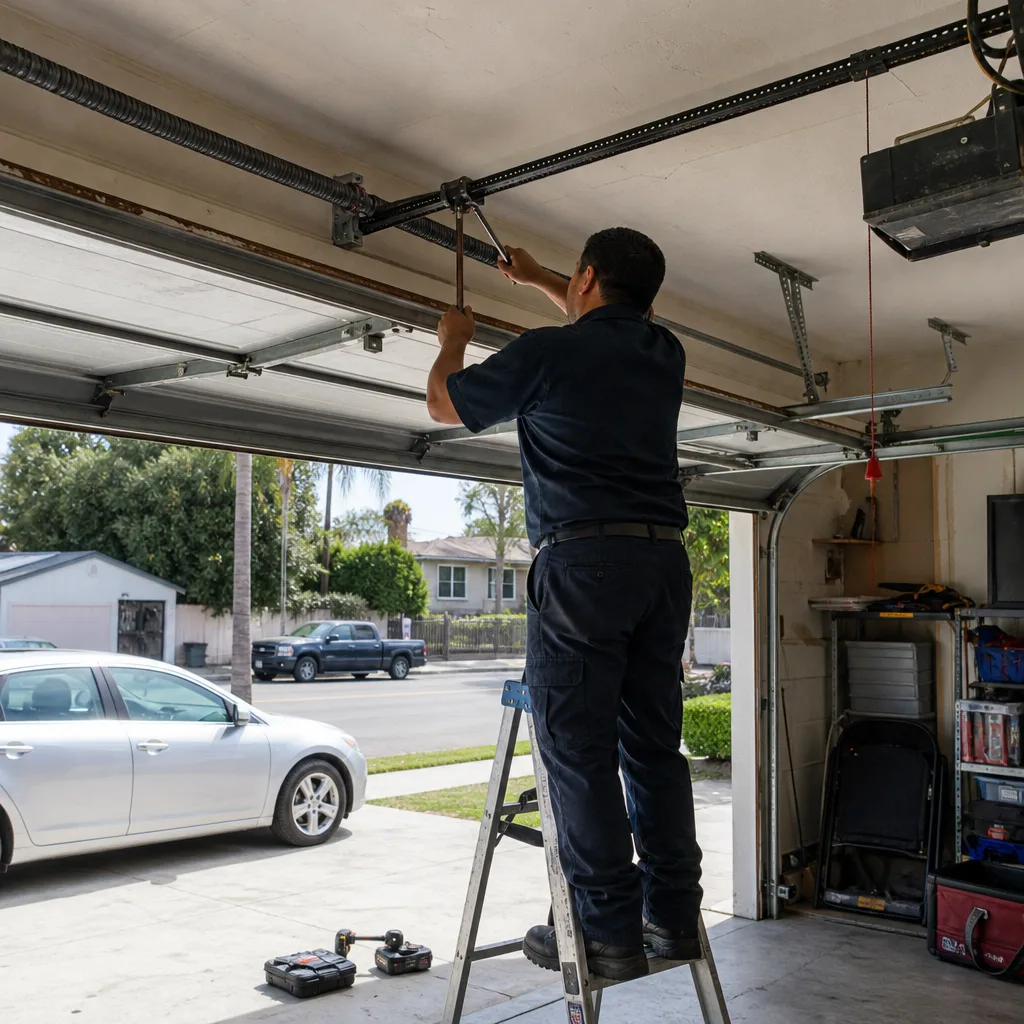
Last updated November 2, 2026
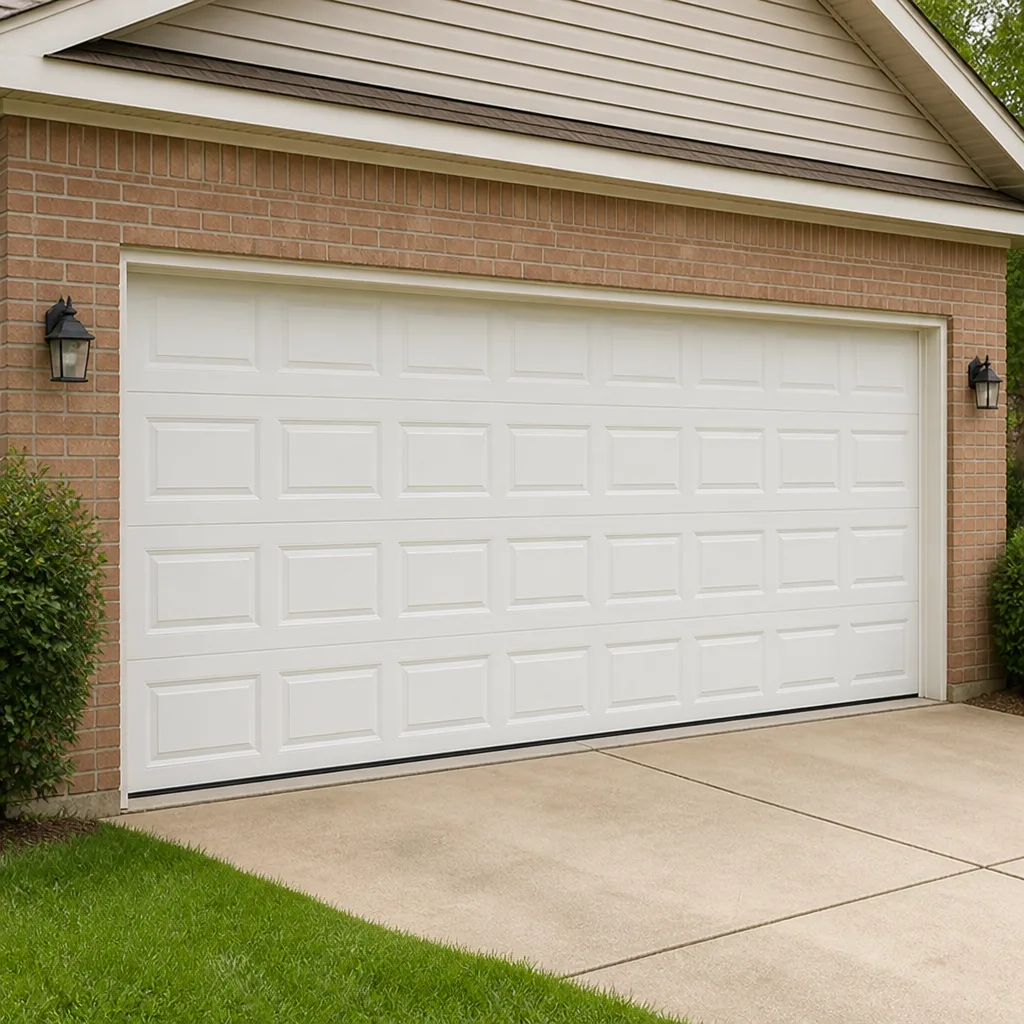 Raised-panel steel
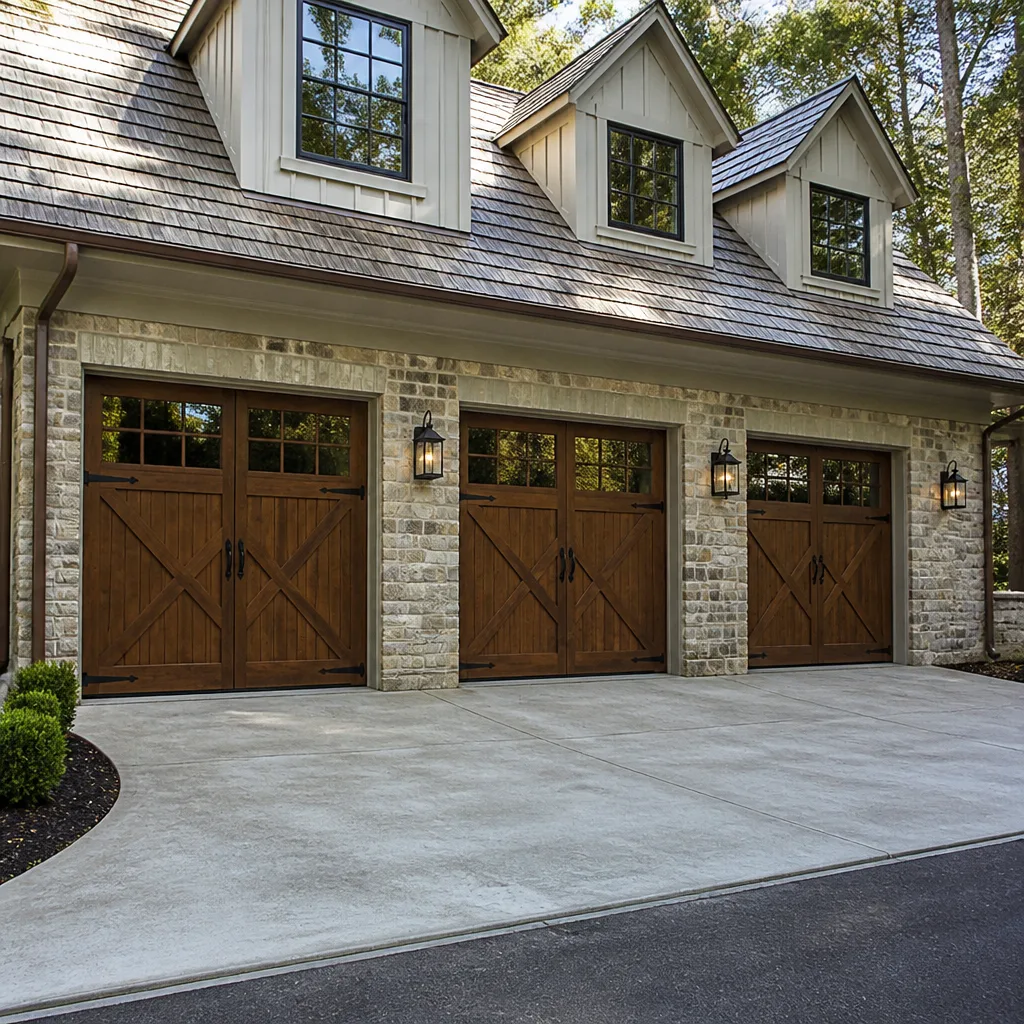 Carriage house
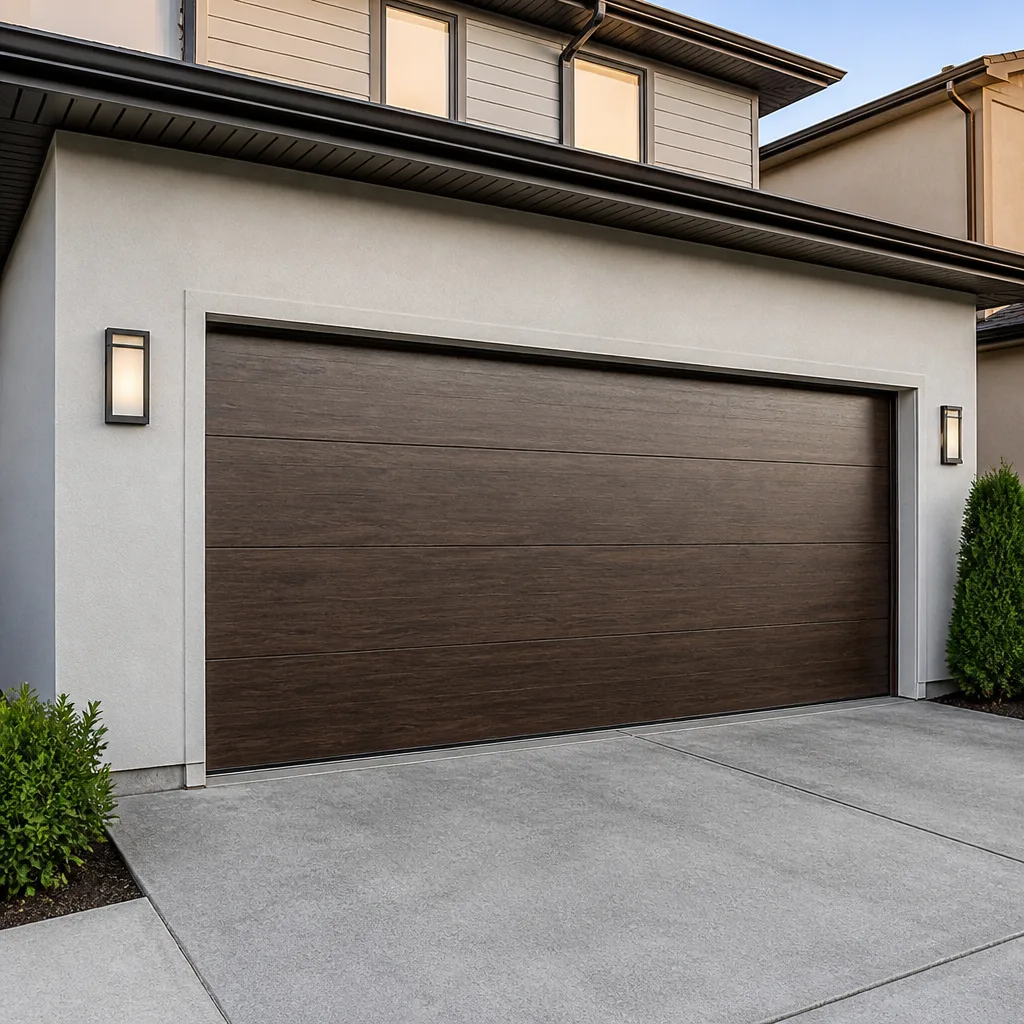 Modern flush
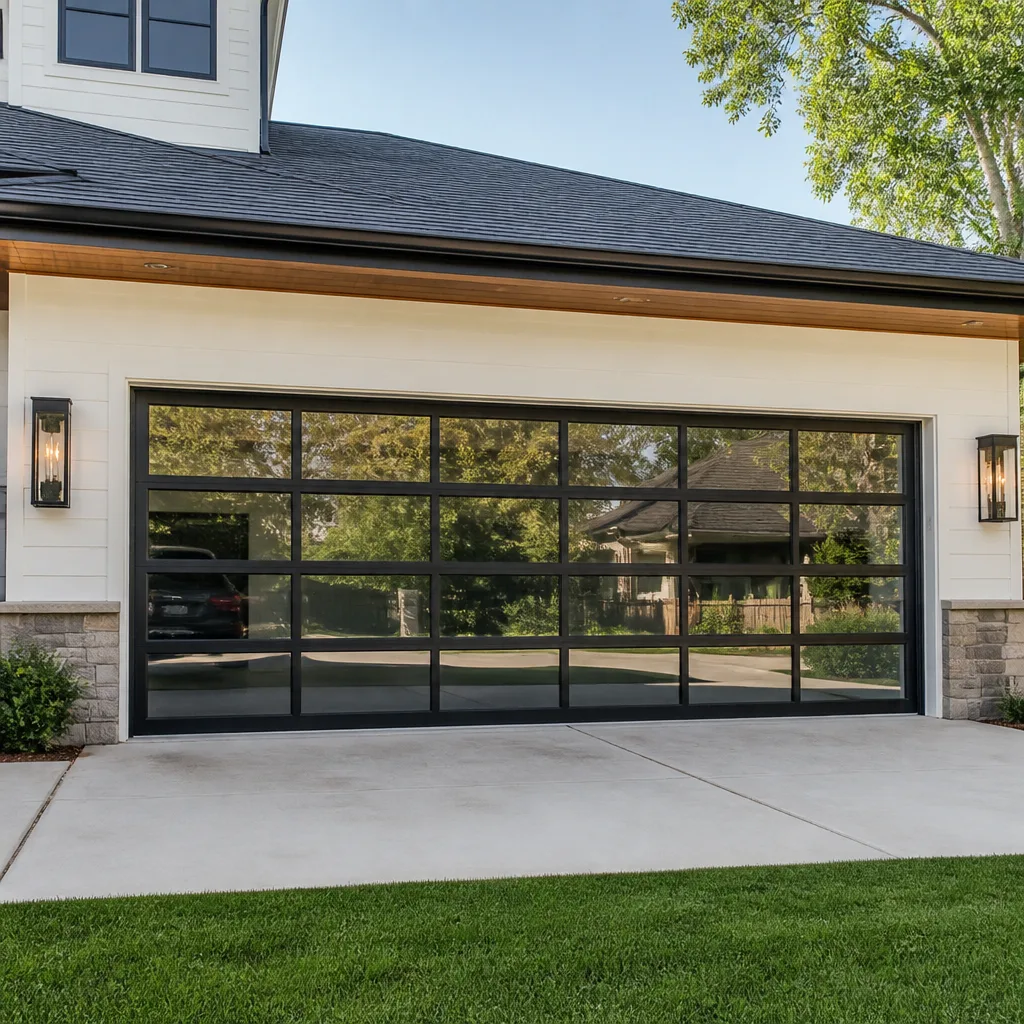 Full-view glass
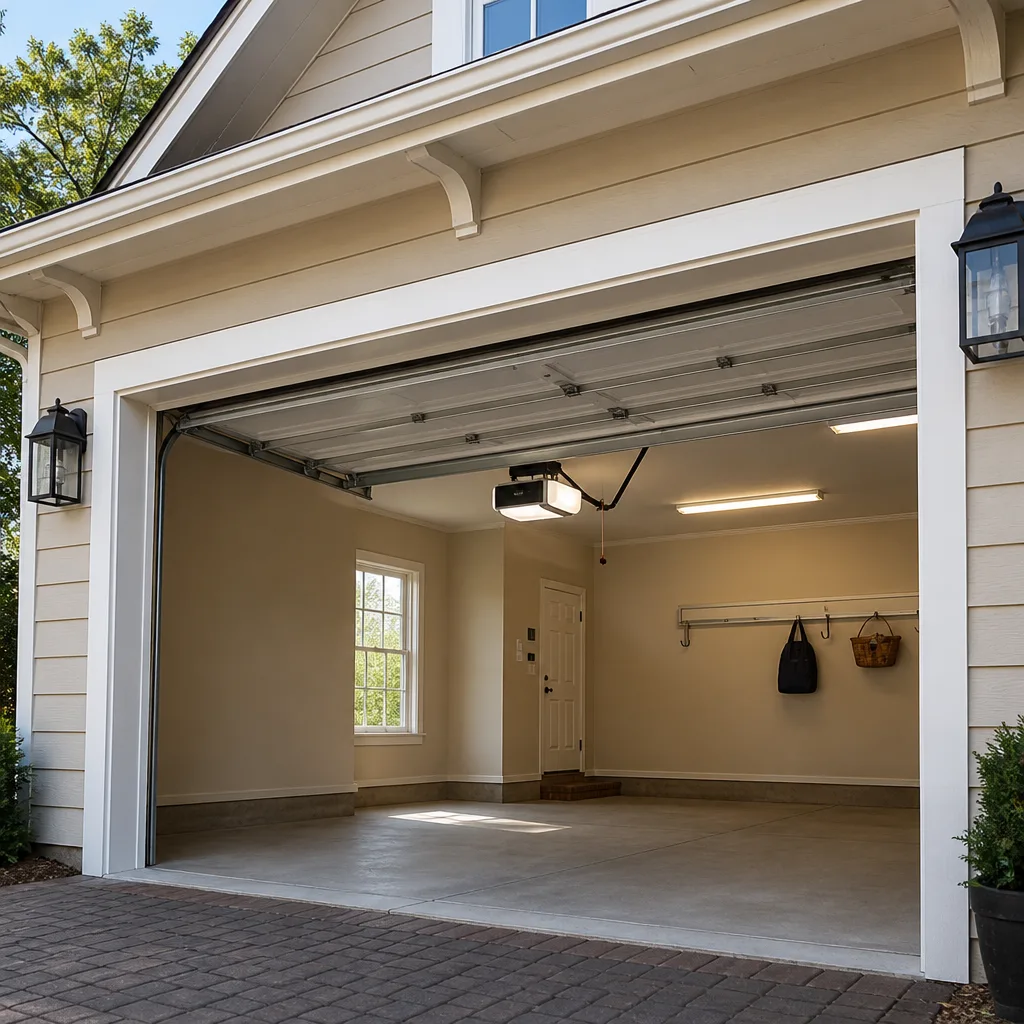 LiftMaster openers
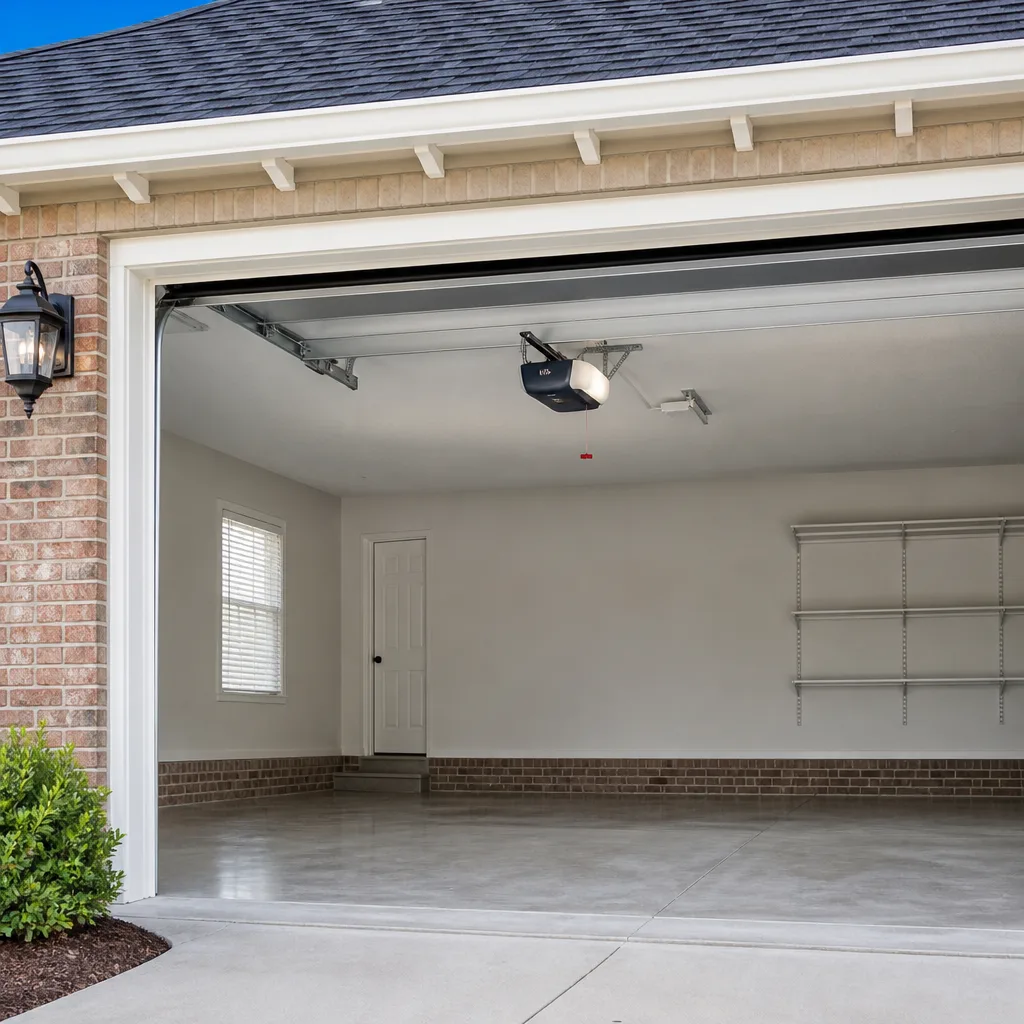 Chamberlain openers
Full 25-point door and opener safety check with every visit - springs, cables, rollers, tracks, and your LiftMaster or Chamberlain opener included
You get a price before we start. It does not change when the truck arrives.
Get your free estimateGarage Door Repair Troubleshooting: Common Problems and How to Fix Them
A garage door reversing before it reaches the floor is almost never a sensor problem. We see this misdiagnosis all the time in East Los Angeles, and it usually costs homeowners money they didn’t need to spend. The real culprit is typically a limit setting that’s drifted out of spec or a door that’s become unbalanced, which fools the opener’s resistance detection into thinking something is under the door. If you’re seeing other warning signals, check our Garage Door Warning Signs: An East Los Angeles Homeowner’s Reference Guide for a fuller picture. This guide works backward from each symptom to the mechanical origin, so the right fix happens the first time. You’ll learn how to run the manual balance test, decode opener error codes that the manuals gloss over, and know with confidence whether you’re looking at a calibration issue or a worn part that needs replacement.
Styles & brands we work with
- Raised-panel steel
- Carriage house
- Modern flush
- Full-view glass
- LiftMaster openers
- Chamberlain openers
Quick Answer
Garage door troubleshooting starts with identifying whether the problem lives in the door itself (springs, tracks, rollers, panels), the opener (motor, logic board, limits, sensors), or the connection between them (balance and alignment). Most issues fall into three categories: misadjusted parts that need calibration, worn parts that need replacement, and electrical faults that need component-level diagnosis. Running a manual balance test first tells you which of the three systems is actually causing the symptom, before you spend a dollar on parts.
Table of Contents
- The Diagnostic Tree: How to Match Symptoms to Systems
- Noise Diagnosis: Grinding, Squealing, Popping, and What Each Sound Means
- Reversal Problems: Why Your Door Goes Back Up and What Actually Fixes It
- The Manual Balance Test: The Most Overlooked Diagnostic in Garage Door Repair
- Opener Error Codes: What LiftMaster, Chamberlain, and Genie Actually Mean
- Uneven Gaps and Alignment Problems: Reading the Door’s Geometry
- Spring Failure: Worn vs. Broken and Why the Distinction Matters
- Safety Checks Before Re-Engaging: What to Verify After Any Troubleshooting Session
- Common Mistakes to Avoid
- When to Call a Professional
- Frequently Asked Questions
- The Bottom Line
The Diagnostic Tree: How to Match Symptoms to Systems
Every garage door problem traces back to one of three systems: the mechanical door assembly (springs, cables, rollers, tracks, panels), the electromechanical opener (motor, logic board, limit switches, force settings), or the interface between them (balance, alignment, and travel). The fastest way to a correct diagnosis is to run a simple isolation test before touching anything.
Here’s the chain of logic we work through on every service call in East Los Angeles:
- Disengage the opener using the red emergency release cord. This physically separates the door from the opener, which immediately tells you which half of the system you’re dealing with.
- Lift the door manually by hand. A door that’s heavy, sticks at a certain point, or won’t stay up points to the mechanical side: springs, cables, or track friction. A door that moves smoothly by hand but misbehaves under opener power points to the opener side: limits, force settings, or logic board faults.
- Run the door through its full travel by hand and note where the symptom appears. Does it bind at the halfway point? That’s a track or roller issue. Does it feel heavy from the very first inch? That’s spring tension. Does it drift down after you release it? That’s spring failure or cable slippage.
- Re-engage the opener and observe the same cycle under power. If the symptom only appears under opener power and never during manual operation, the problem is electrical or setting-related, not mechanical.
This isolation step eliminates about half of all possible causes before you’ve turned a single wrench. Most homeowners in East Los Angeles call us after they’ve already replaced a part that wasn’t failing, because they skipped this step and guessed. If you need help, our Garage Door Repair services can get you back on track. Don’t guess. Isolate.
We service doors and openers from Wayne Dalton, Raynor, Craftsman, and LiftMaster, among others, and the diagnostic tree works the same across every brand. The door doesn’t care what name is on the opener. The physics is the physics.
Noise Diagnosis: Grinding, Squealing, Popping, and What Each Sound Means
Garage doors talk. Every noise has a specific mechanical origin, and learning to read those sounds will tell you exactly where to look before you start taking things apart. We’ve learned to diagnose most door problems by ear before we even pull into the driveway.
Grinding or metal-on-metal scraping
Grinding almost always means a roller bearing has failed. The roller still turns, but the bearing inside has worn out, so metal rubs against metal instead of rolling smoothly. The fix is straightforward: replace the affected roller or rollers. This is one of the few repairs where doing all the rollers at once makes sense, since a roller failure on one side often means the others aren’t far behind. Left unrepaired, a seized roller will eventually wear a flat spot onto its shaft and start carving into the track itself, which turns a $15 roller replacement into a track replacement.
Squealing or high-pitched squeaking
Squealing is a lubrication problem in nine out of ten cases. Specifically, it’s the hinge points and roller shafts crying out for attention. Spray lubricant on the hinges, the roller shafts, and the bearing plates, then cycle the door a few times to work it in. If the squeal persists after lubrication, you’re likely looking at a worn roller bearing that’s about to fail, which takes us back to the grinding diagnosis above.
One caveat: never lubricate the track itself. The rollers ride on the track, and lubricant there just collects dust and grime, which creates a sticky paste that makes things worse. The track should be dry and clean. Lubricate the moving parts, not the guide surface.
Popping or banging when the door moves
A rhythmic pop or bang as the door travels is almost always a spring problem. Torsion springs wind and unwind as the door moves, and when they’re starting to fail, they’ll make a popping sound as tension releases unevenly. This is different from the bang of a spring breaking outright, which is a single loud noise that sounds like a gunshot and means the spring has snapped.
If you hear a recurring pop during door travel, stop using the door and get the springs inspected. A spring that’s popping is a spring that’s about to let go, and when that happens, the door can come down hard without warning.
Rattling or buzzing from the opener unit
Rattling from the opener motor housing usually means one of two things: the drive gear inside the opener is wearing out, or the opener isn’t securely mounted to the ceiling. Check the mounting brackets first, since loose bolts are the cheapest and easiest fix. If the mounting is solid, the noise is internal, and that typically means the drive gear, which is a known wear point on older Craftsman openers that were installed in the 2000s and early 2010s. We still see plenty of those in East Los Angeles garages, and the drive gear is replaceable without swapping the whole unit. For help finding the right technician, see How to Hire a Garage Door Contractor in East Los Angeles: A Step-by-Step Guide.
Loud hum but nothing moves
If the opener hums but the door doesn’t move, the motor is getting power but the drive mechanism isn’t engaging. On chain- and belt-drive openers, this usually means the drive gear or sprocket has stripped. On screw-drive Genie units, it means the coupler between the motor and the screw has failed. This is a repair that’s specific to the opener’s internal components, and it’s worth fixing if the opener is otherwise in good shape. A humming opener that immediately trips its thermal overload is telling you the motor is straining against a load it can’t move, which is a spring or balance problem masquerading as an electrical one.
Reversal Problems: Why Your Door Goes Back Up and What Actually Fixes It
The opener’s reversal function exists for one reason: safety. When the door hits resistance on the way down, the opener reverses to prevent injury or damage. The problem is that the opener’s resistance detection is relatively crude, and a lot of things can trigger a false positive. Here’s the breakdown of why your door reverses, in order of likelihood.
Most likely: limit settings have drifted
Limit settings tell the opener where “closed” is. When they drift, usually from vibration, power fluctuations, or component aging, the opener thinks the floor is a few inches higher than it actually is. The door hits your actual concrete floor, the opener detects resistance it wasn’t expecting, and it reverses. The fix is to adjust the down limit so the opener knows where the true closed position is. This takes five minutes with a flathead screwdriver, and it’s the fix in roughly a third of the reversal calls we handle.
Second most likely: the door has gone out of balance
This is the one everyone misses. Your door is designed to be weight-neutral at every point in its travel. The springs should be doing all the heavy lifting, so the opener only has to provide a gentle nudge. When a spring weakens with age, the door puts more of its weight on the opener during the down cycle. The opener’s force sensor reads this as “something is in the way,” and reverses. Replacing the sensors won’t fix this. Replacing the springs will. Run the manual balance test in the next section to check for this condition.
Less likely: sensor obstruction or misalignment
The photo-eye sensors near the bottom of the door are the third most common cause of reversal issues, not the first. If the sensors are misaligned, dirty, or have a wire that’s loose, the opener interprets the signal loss as an obstruction. Clean the lenses first, then check that both units are facing each other and their lights are solid. If the sensor lights are blinking, that means misalignment or a wiring fault, not an obstruction.
Least likely but possible: force sensitivity set too low
Every opener has adjustable force settings. If they’ve been dialed down too low, whether from a previous owner’s adjustment or a power surge resetting the defaults, the opener will interpret normal door weight as excessive resistance. On LiftMaster and Chamberlain openers, the force controls are on the side of the motor unit. On Raynor openers, they’re behind the light cover. Before adjusting force settings, run the balance test. Adding force to compensate for a failing spring is the wrong fix and can cause the door to push through an actual obstruction.
The Manual Balance Test: The Most Overlooked Diagnostic in Garage Door Repair
Here’s the test that separates real technicians from parts-swappers. It takes under a minute, requires zero tools, and tells you more about your door’s health than any visual inspection. We run this test on every single service call, and if you do nothing else from this guide, do this.
- Close the door completely. Make sure the opener is disengaged using the red emergency release cord.
- Lift the door to waist height and let go. A properly balanced door will hold its position. It won’t shoot up. It won’t sag down. It will stay put.
- Lift the door to three-quarter height and let go. Same test, different position. The door should hold.
- Lower the door to about a foot from the floor and let go. The door should stay in place. If it crashes down from this height, your springs are critically under-tensioned or broken.
Interpretation:
- Door holds at every position: Springs are doing their job. Any problem you’re experiencing is likely opener-related, track-related, or roller-related.
- Door sags or drops from any position: Springs are weak or failing. The door is putting excess weight on the opener, which explains reversal problems, slow movement, and motor strain.
- Door rises on its own from any position: Springs are over-tensioned. This is rare but happens when a previous spring replacement used the wrong size spring. An over-tensioned door slams into the top of the track and wears out the opener’s up-limit gear prematurely.
- Door binds or sticks at a specific point: Track damage, roller failure, or panel misalignment. The springs are fine, but something in the guide system needs attention.
In East Los Angeles, where many homes date from the 1950s through the 1980s, we regularly see doors that haven’t had a balance test in decades. The springs lose tension gradually, the homeowners compensate by adjusting the opener’s force settings, and the whole system drifts out of spec until something fails dramatically. The balance test catches this early, before the failure.
Opener Error Codes: What LiftMaster, Chamberlain, and Genie Actually Mean
Opener error codes are useful, but they’re also the source of a lot of confusion, because the manual’s interpretation and the real-world meaning don’t always line up. Here’s what we’ve learned from diagnosing hundreds of openers in East Los Angeles homes.
LiftMaster and Chamberlain (same parent company, same codes)
Code 1-1: The manual says “door will not close.” In practice, this means the door traveled for more than 30 seconds without hitting the down limit. This is almost always a limit setting issue, a broken travel module, or a door that’s so out of balance the opener can’t push it down within the time window. Check the balance first.
Code 1-2: The manual says “door will not open.” The real cause is usually a broken spring. The opener tries to lift the door, can’t (because the spring isn’t helping), and gives up. We’ve lost count of how many homeowners have called us thinking they need a new opener when the real problem was a $200 spring replacement.
Code 3-2: The manual calls this “sensor obstruction.” In the field, we see this code most often when there’s a wiring fault somewhere between the sensor and the logic board. The sensor eyes can be perfectly aligned, but a corroded wire connection or a damaged wire inside the wall will trip the code anyway. Don’t replace the sensors before checking the wiring.
Code 4-6: The manual says “motor overheat.” What it actually means, in most cases, is that the opener ran too many cycles in too short a period and tripped the thermal protection. If you’re getting this code during normal use, the door balance is likely putting too much strain on the motor, causing it to run hot. Fix the balance, and the code goes away.
Genie
Red LED blinks twice, pauses, repeats: The manual calls this “safety beam problem.” The translation: the sensors can’t see each other. Misalignment is the most common cause, followed by a broken wire in the sensor circuit. On older screw-drive Genie units, the sensors themselves are prone to internal failure and need replacement.
Red LED blinks four times, pauses, repeats: This is the code for “door contact or reverse.” The opener hit something on the way down and reversed. If there’s nothing under the door, refer back to the reversal section above. The limit settings or the door balance are the usual suspects.
Red LED blinks five times, pauses, repeats: This is the “motor overheated” code, and it works the same way as the LiftMaster code. Extended cycles, excessive load from a weak spring, or a failing capacitor can all trigger it. If the door is balanced and the opener still overheats, the capacitor is the next thing to check.
The pattern across all brands
The error code tells you what the opener thinks is wrong. It doesn’t always tell you what’s actually wrong, because the opener’s sensors can’t distinguish between a true obstruction, an unbalanced door, and a misadjusted limit. That’s why the diagnostic tree from the first section matters so much. The codes are a starting point, not a verdict.
Uneven Gaps and Alignment Problems: Reading the Door’s Geometry
An uneven gap between the door and the floor is more than a cosmetic annoyance. It’s the door telling you something about the condition of its springs, cables, or tracks. Reading the pattern of the gap will point you to the right repair.
Gap on one side only
If the door meets the floor on one side but leaves a visible gap on the other, the door panels have racked, meaning they’ve twisted slightly out of square. This happens when one torsion spring is doing more work than the other. On a two-spring system, when one spring weakens before the other, the door lifts unevenly, and the panels rack. The fix is a spring inspection and replacement as a pair. Springs should always be replaced as a pair, even when only one has failed, because the surviving spring has the same wear history and will fail soon anyway.
Gap in the center, contact at the edges
This pattern usually means the door’s bottom seal has worn unevenly, which is a simple weather seal replacement. But it can also mean the door has taken an impact at some point and the bottom panel is slightly bowed. In East Los Angeles, where a lot of garages double as storage and workshops, we see bottom panel damage from vehicles, bikes, and moving equipment more often than you’d expect.
Gap that appears and disappears as the door travels
If the gap is present at certain points in the travel and not others, the track alignment has shifted. The rollers are binding at a specific point, which causes the door to hang up on one side. Inspect the track brackets and look for any that have come loose from the wall. A track that’s drifted even half an inch off true will cause recurring alignment problems that no amount of sensor adjustment will fix.
Uneven cable tension
Look at the cables that run along each side of the door. They should have identical tension. If one cable is slack while the other is taut, you have a cable problem: either it’s starting to slip off the drum, or the drum itself has shifted on the torsion shaft. This is a repair that involves working with high-tension components, and it’s one we recommend leaving to a technician with the proper winding bars and experience.
Spring Failure: Worn vs. Broken and Why the Distinction Matters
Springs are the most misunderstood component on a garage door. They do the heavy lifting, they wear out on a predictable schedule, and they fail one of two ways: gradually or catastrophically. Knowing which one you’re dealing with determines your urgency and your options.
The average torsion spring is rated for roughly 10,000 cycles, and a cycle is one full open and close of the door. For a door that opens three times a day, that’s about nine years of service life. For a door that opens six times a day, it’s closer to four and a half years. In East Los Angeles, where many people use their garage as the primary entry point to the house, we see spring wear accelerating faster than the national average.
Worn springs: the silent failure
A worn spring doesn’t break. It just gets weaker. The door gets heavier. The opener works harder. The balance test fails slowly, over months. Homeowners compensate by adjusting the opener’s force settings, which masks the problem until something else fails. A worn spring is caught by the balance test and fixed on your schedule, before it becomes an emergency.
Broken springs: the loud failure
A broken spring announces itself. You’ll hear a loud bang from the garage, like a gunshot or a dropped weight. The door won’t open, or it opens a few inches and stops. The spring is in two pieces, and the door’s full weight is on the opener and the cables. This is an emergency, not because the door is about to fall (the cables should hold it), but because every cycle you put on the system from this point forward is wearing out other components at an accelerated rate.
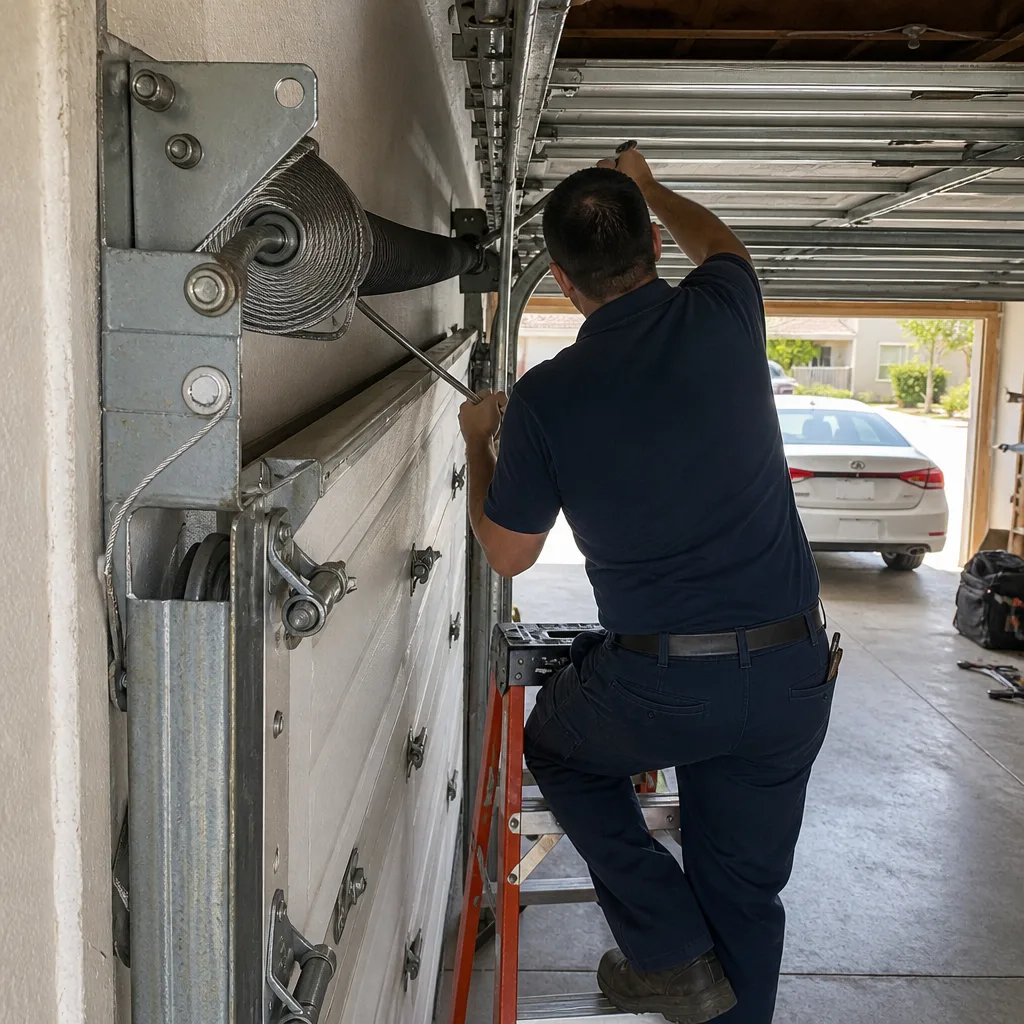
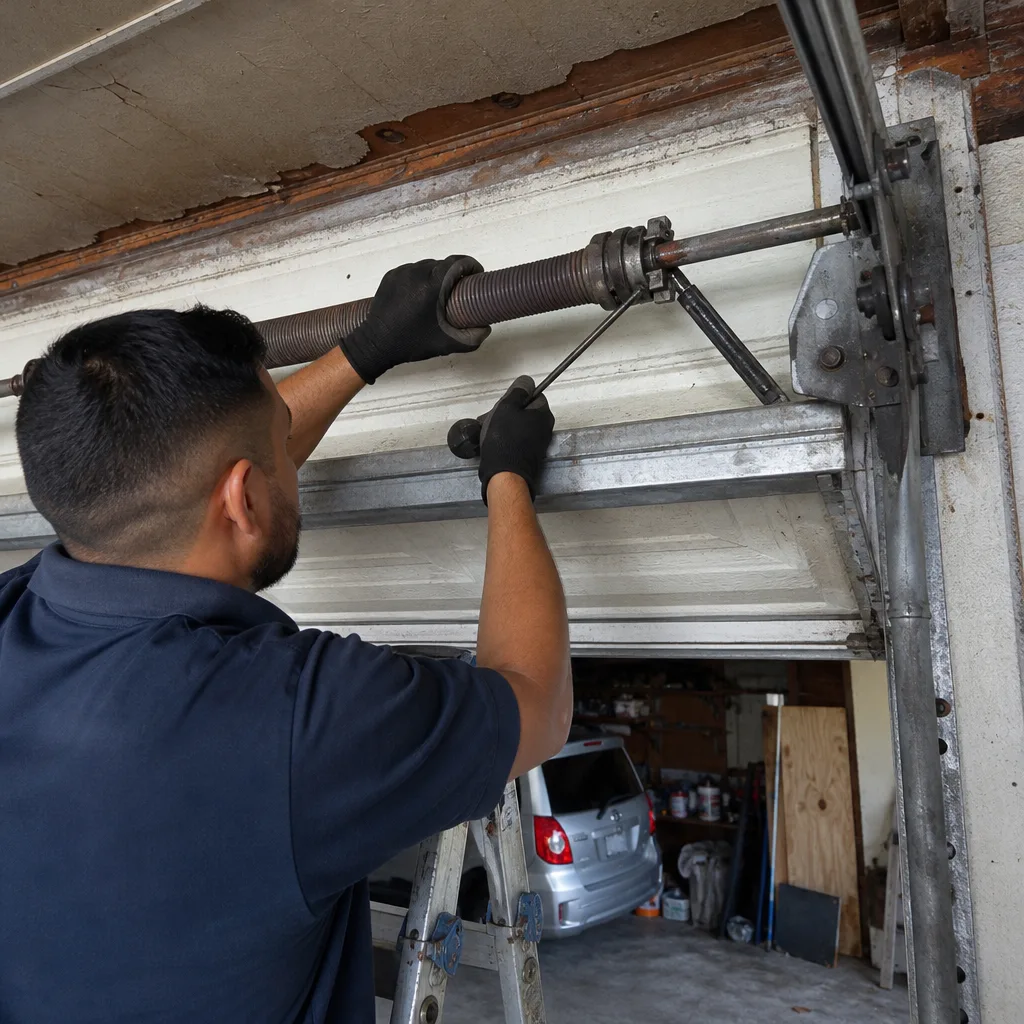
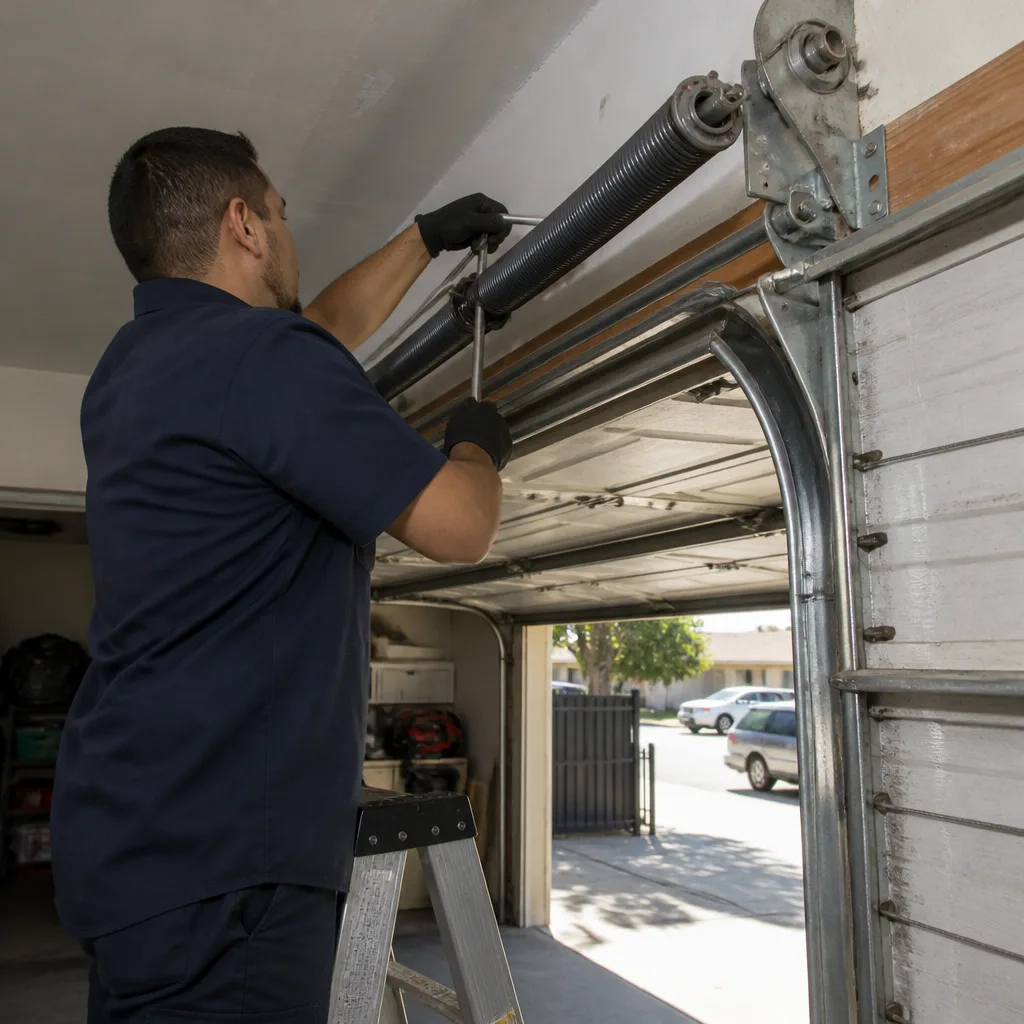
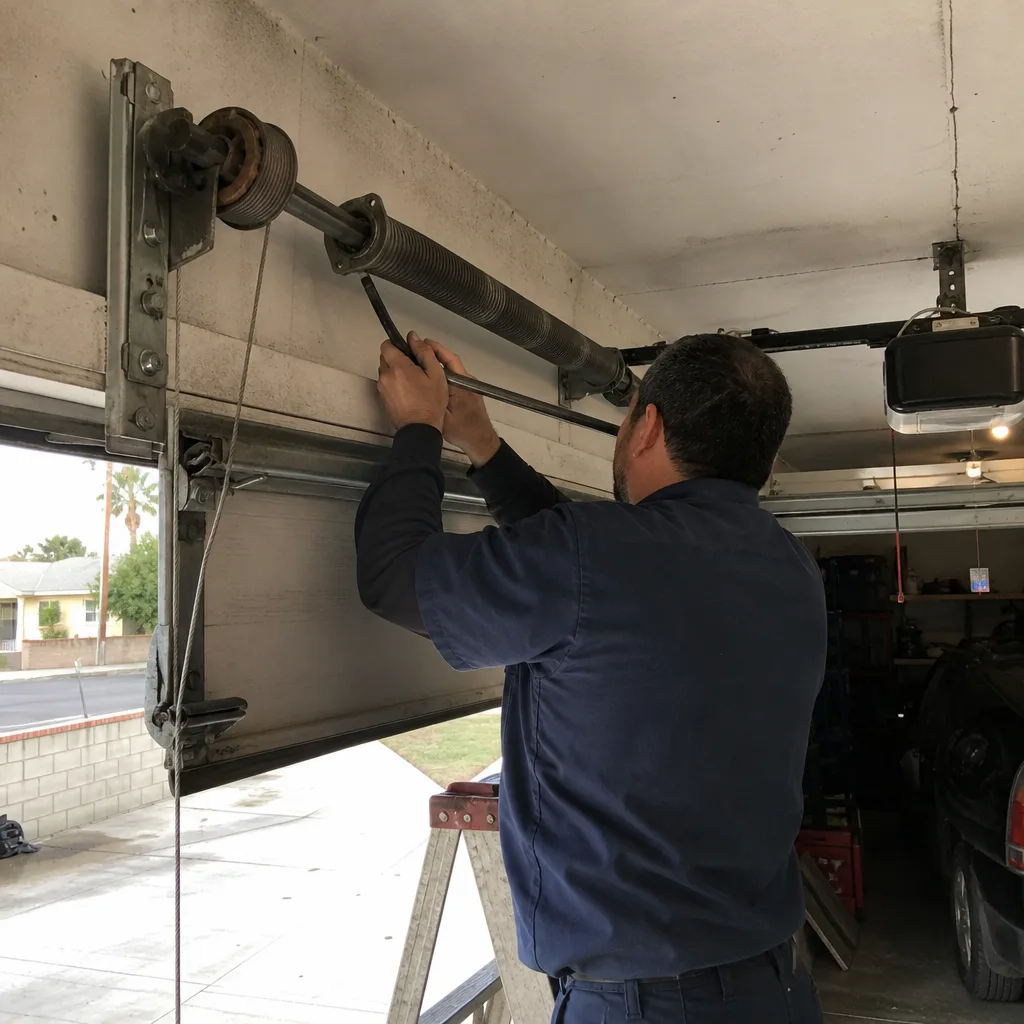
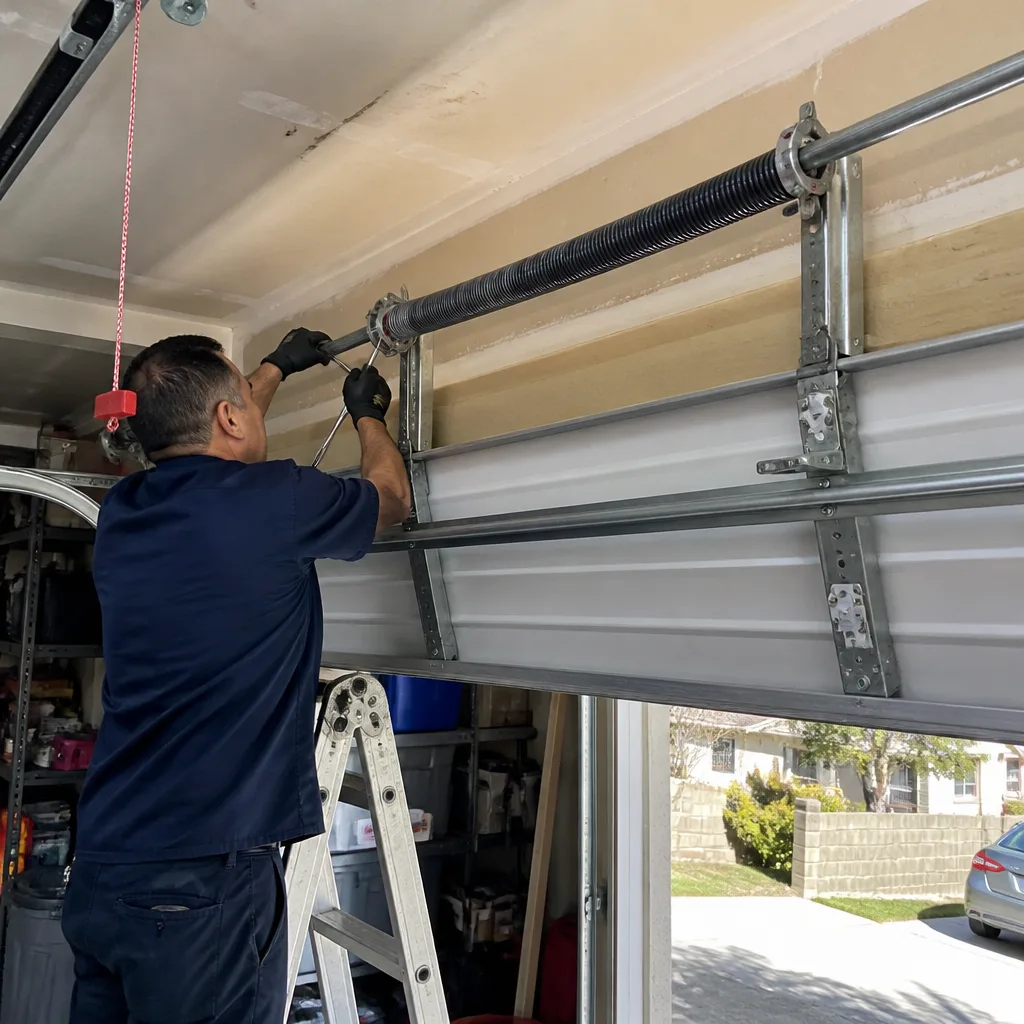
Important safety note: Torsion springs are under enormous tension, even when the door is closed and the spring appears relaxed. The winding cones, the set screws, and the cables all carry force that can cause serious injury if released improperly. Spring repair and replacement is one area where we strongly recommend a trained professional with the correct winding bars and experience. This is not a weekend DIY project, and the tools and technique matter more than almost any other repair in residential home maintenance.
Safety Checks Before Re-Engaging: What to Verify After Any Troubleshooting Session
After you’ve run any diagnostic or made any adjustment, there’s a sequence of safety checks that needs to happen before you put the door back into service under opener power. Skipping these checks is how minor problems become major ones.
- Verify the door’s full manual travel. With the opener still disengaged, run the door from fully closed to fully open by hand. It should move smoothly at every point. If it binds, hangs, or feels heavy, don’t re-engage the opener until the mechanical issue is resolved.
- Check the cable tension on both sides. Look at the lift cables. They should be equally taut and seated properly in their drums. A cable that’s starting to fray or come off its drum is a failure waiting to happen, and the opener’s force won’t compensate for it.
- Test the reversal mechanism. Re-engage the opener, then place a 2×4 or a roll of paper towels flat on the floor under the door’s path. Close the door. It should reverse within two seconds of contacting the obstruction. If it doesn’t, the force settings are too high, and the reversal system is not functioning as designed. This is the single most important safety feature on your door, and it’s worth testing monthly.
- Verify the photo-eye sensors. With the door open, wave your hand through the sensor beam while the door is closing. The door should stop and reverse immediately. Clean the lenses and check alignment if it doesn’t.
- Do a final visual inspection. Look at the rollers, the hinges, the brackets, and the tracks. Anything loose, worn, or cracked needs attention before it fails under load.
These five checks take less than ten minutes. They’re the difference between a door that runs for another decade and a door that fails suddenly at the worst possible time.
Common Mistakes to Avoid
- Replacing parts without running the balance test. The balance test is free and takes one minute. Replacing a sensor, a logic board, or an entire opener when the real problem is a weak spring is the most expensive mistake we see. Isolate before you invest.
- Adjusting force settings to compensate for a heavy door. Cranking up the force sensitivity on the opener masks a spring problem and disables the safety reversal in the process. An opener that can push through an obstruction is dangerous, and the door will only get heavier as the spring continues to weaken.
- Lubricating the track. The track is a guide surface. It should be dry and clean. Lubricant in the track attracts grime and creates a sticky residue that increases friction and wears out rollers faster. Lubricate the rollers, hinges, and bearing plates only.
- Replacing only one spring on a two-spring door. Both springs wear at the same rate, even if one fails slightly sooner. Replacing only the broken one means running an unbalanced system, which shortens the life of the new spring and keeps the old one in service past its safe lifespan. Always replace springs as a pair.
- Ignoring a popping or clicking spring. A spring that makes noise is a spring that’s about to fail. The noise means the spring is releasing tension unevenly, and the clock is ticking. Get it inspected before it breaks and takes the door out of commission entirely.
- Attempting torsion spring repairs without the right tools. Torsion springs carry enough force to break bones. The winding bars need to be the correct diameter, the technique needs to be precise, and one wrong move can put the full tension of the spring into a body part. This is the one repair where the risk of DIY genuinely outweighs the savings.
When to Call a Professional
Some repairs are safe and satisfying to handle yourself: lubricating hinges, cleaning sensor lenses, tightening loose bolts, running the balance test. Others are a different category of risk. Broken or popping torsion springs, cables that are fraying or coming off their drums, and any repair that involves winding or unwinding spring tension should go to a technician with the right tools and experience. A door that falls because of a spring failure can do real damage to property and people.
We also recommend professional diagnosis when the problem is intermittent or you’ve already replaced a part without fixing the symptom. Our technicians in East Los Angeles carry parts for LiftMaster, Chamberlain, Genie, Raynor, Wayne Dalton, Craftsman, Clopay, and Amarr, which means the fix usually happens on the first visit rather than the third. Preston Garage Door Repair offers free estimates in East Los Angeles. Call (833) 573-5280 and we’ll send a technician who knows the difference between a misadjusted limit and a failing spring, because that’s the difference that saves you money.
Frequently Asked Questions
The most common reason is a drift in the limit settings, which tells the opener the floor is higher than it actually is. The second most common reason is a door that’s out of balance, which makes the opener’s force sensor think there’s an obstruction. Sensor misalignment is a distant third. Run the manual balance test before replacing anything.
You’ll usually hear a loud bang from the garage, and then the door won’t open or only opens a few inches. A visual check will show the torsion spring in two pieces with a visible gap. A worn spring won’t be visibly broken, but the door will feel heavy when you lift it manually. Call (833) 573-5280 for an inspection, since spring work requires specialized tools and carries real injury risk.
If the grinding is coming from a roller with a failed bearing, that’s a replacement job that most homeowners can handle with basic tools. If the grinding is coming from the opener’s drive mechanism or from the spring assembly, that’s a different repair that involves internal components or high-tension parts. Start by isolating the location of the noise before touching anything.
Twice a year is enough for a door in good condition. If your door is older, opened frequently, or showing symptoms like reversal or slow movement, run it monthly. The test takes one minute and catches spring wear long before it becomes a failure.
The code tells you what the opener senses, but it doesn’t always reflect the true cause. A Code 1-2 on a LiftMaster usually means a broken spring, not an opener problem. Use the code as a starting point, then run the diagnostic tree to confirm the actual source before spending money on parts.
Spring warranties vary by manufacturer and installer. Most torsion springs carry a limited warranty from the manufacturer, but the labor to install them is usually separate. We quote spring replacement with the full price upfront, including parts and labor, so there are no surprises. Call (833) 573-5280 for a free estimate in East Los Angeles.
The Bottom Line
Garage door troubleshooting is a process of elimination, and the elimination starts with isolating the door from the opener. Run the manual balance test. Listen to the noises and learn what each one means. Read the error codes but don’t treat them as a final answer. And above all, don’t throw parts at a problem until you’ve identified which system is actually failing. The difference between a misadjustment and a worn part is the difference between a $20 fix and a $400 repair, and that distinction is what separates a real diagnosis from a guess. If the diagnosis points to something beyond your comfort zone, especially anything involving springs or cables, call a professional. Our team handles the full range, from opener diagnostics on LiftMaster and Genie units to complete door replacements for Wayne Dalton and Raynor systems, all under one call at (833) 573-5280.
Written by the team at Preston Garage Door Repair, serving East Los Angeles since 2018.
See the difference
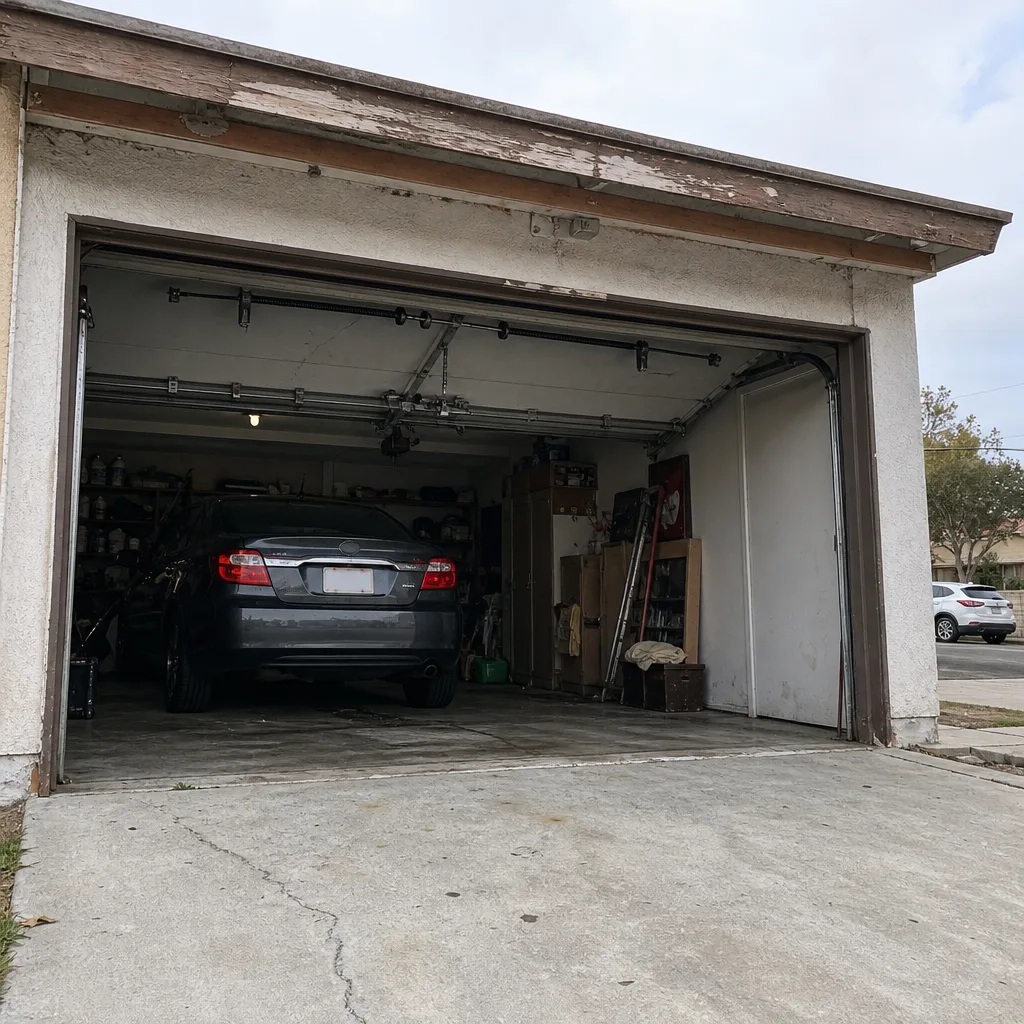 Before
 After
 Before
 After
 Before
 After