
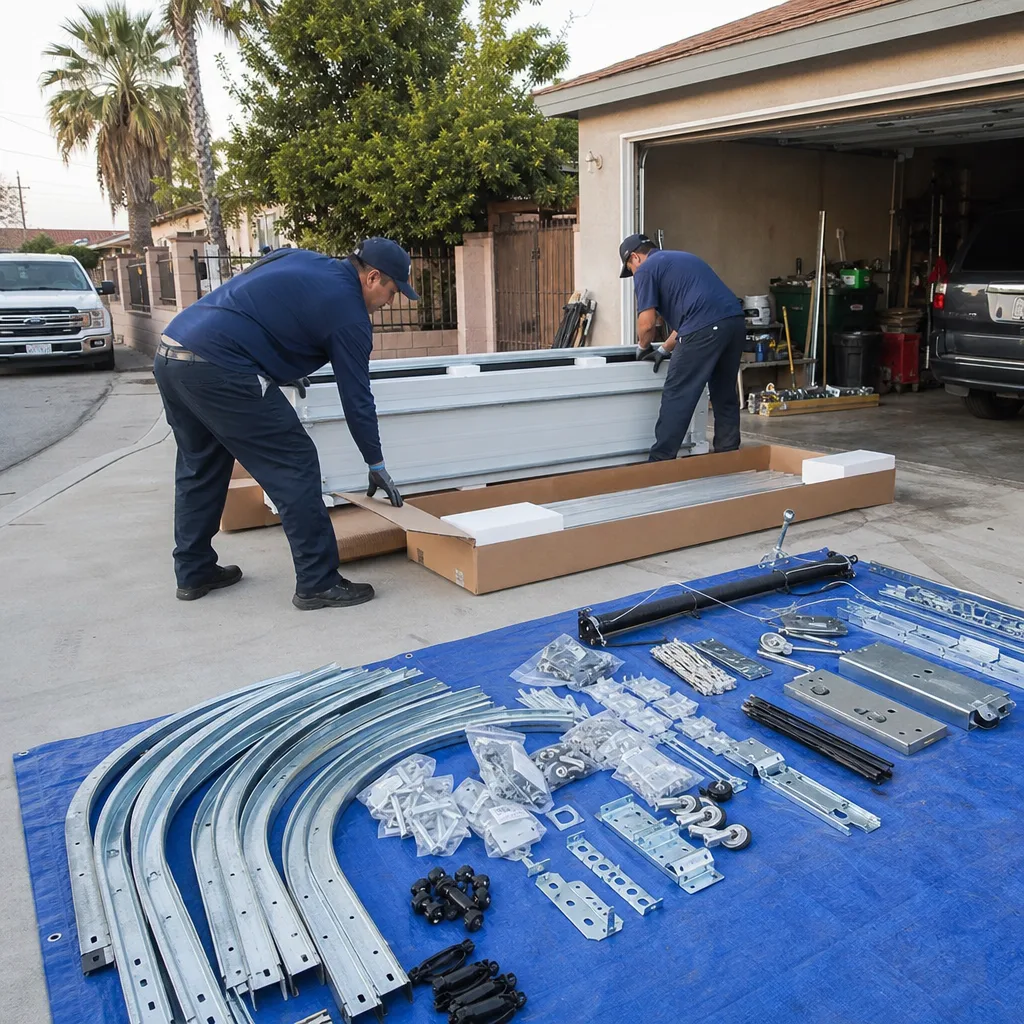
Last updated November 2, 2026
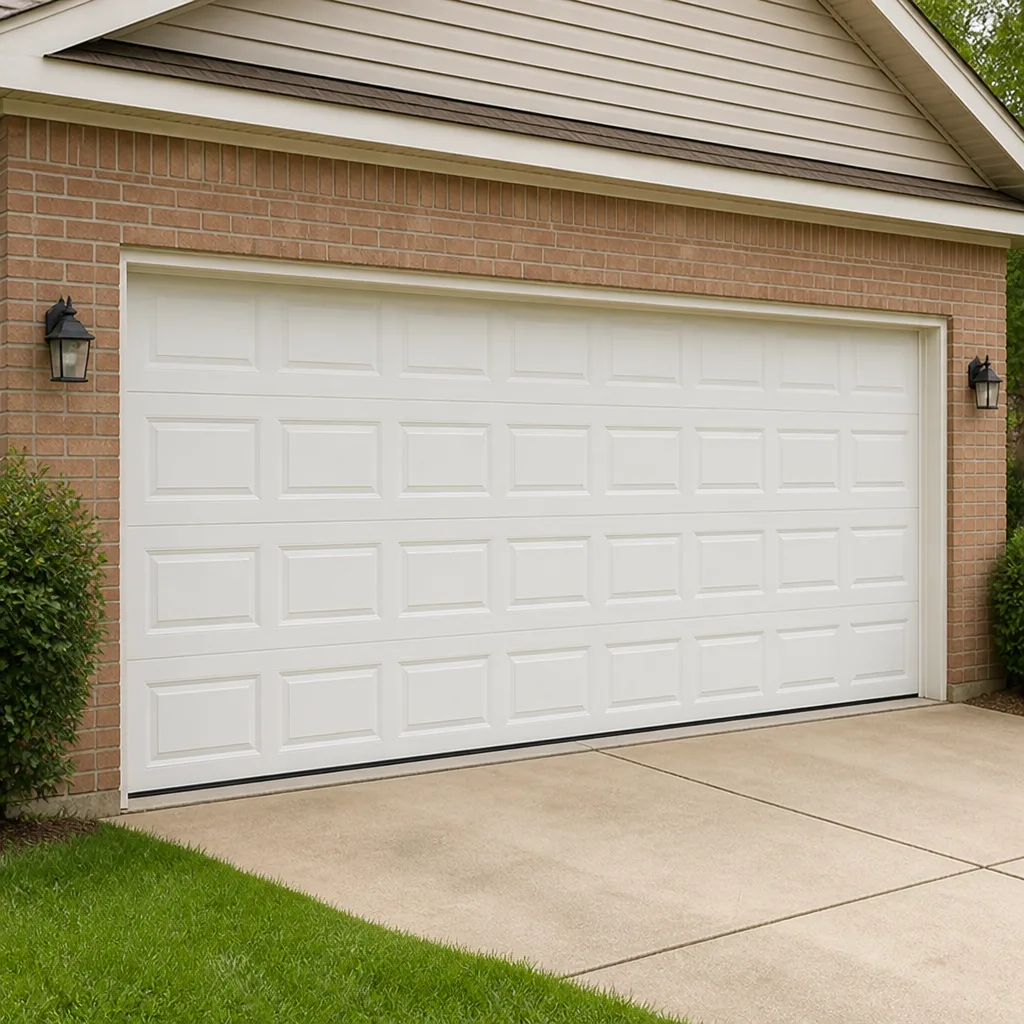 Raised-panel steel
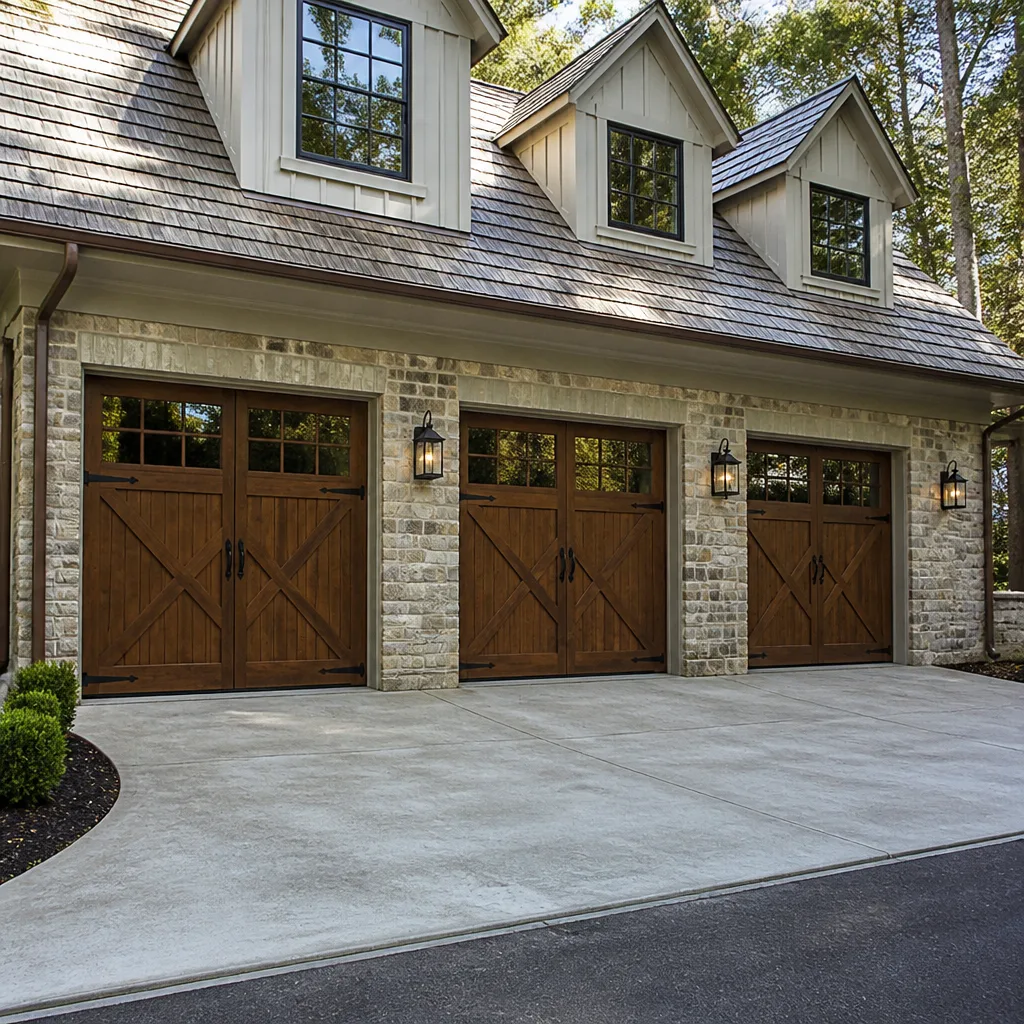 Carriage house
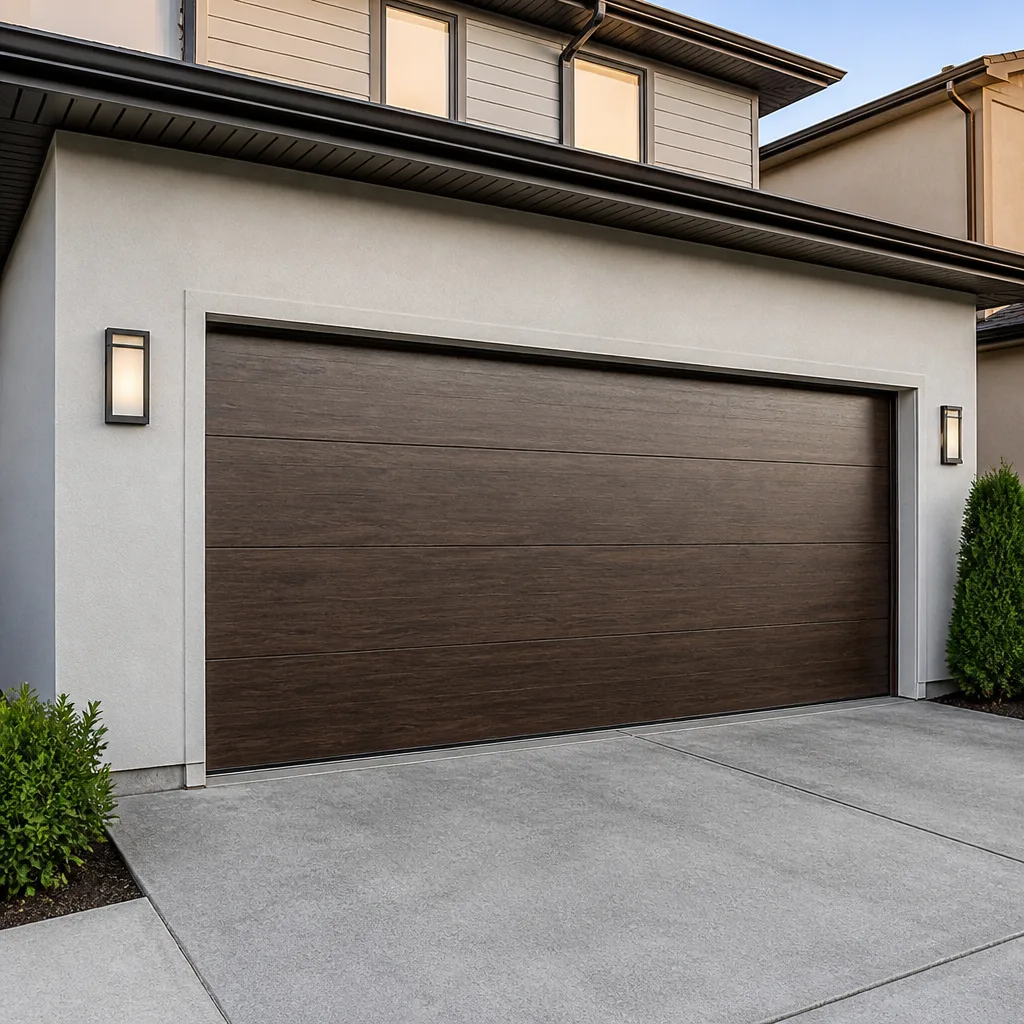 Modern flush
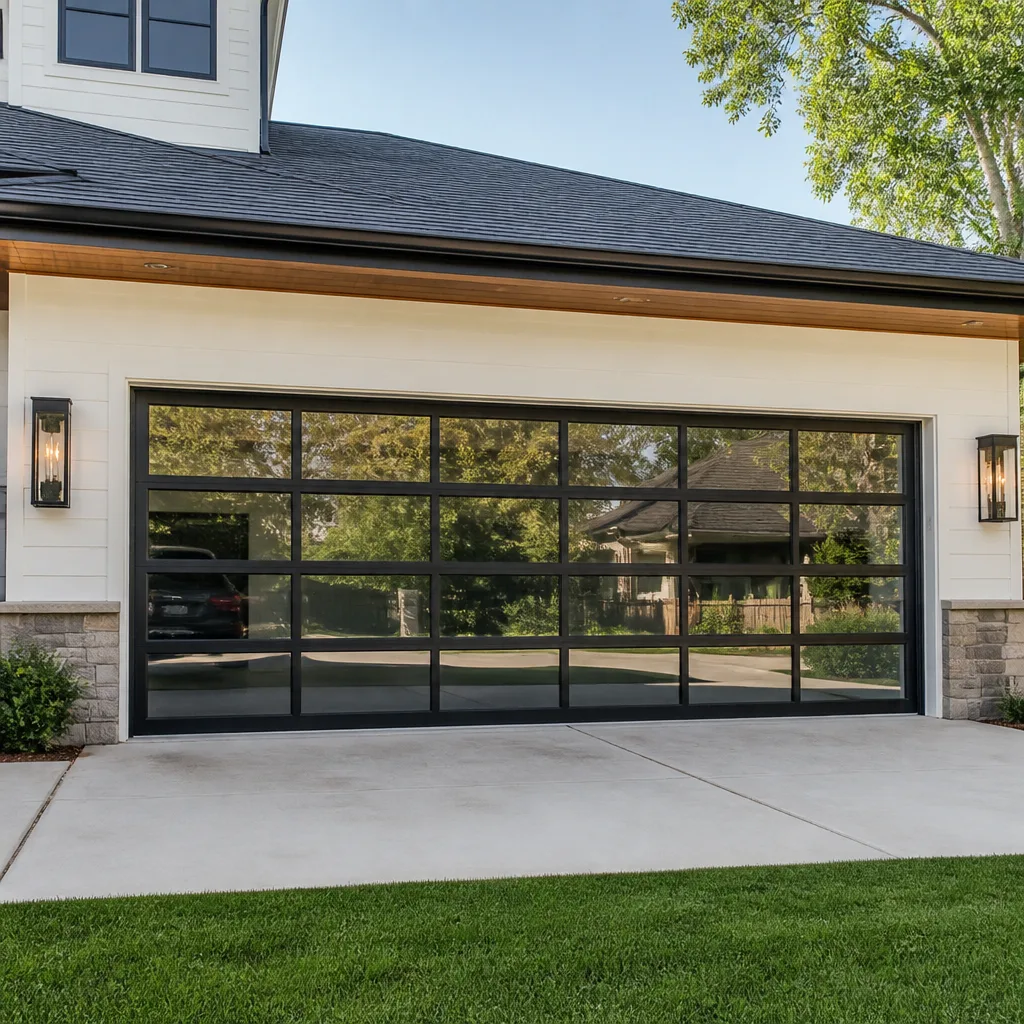 Full-view glass
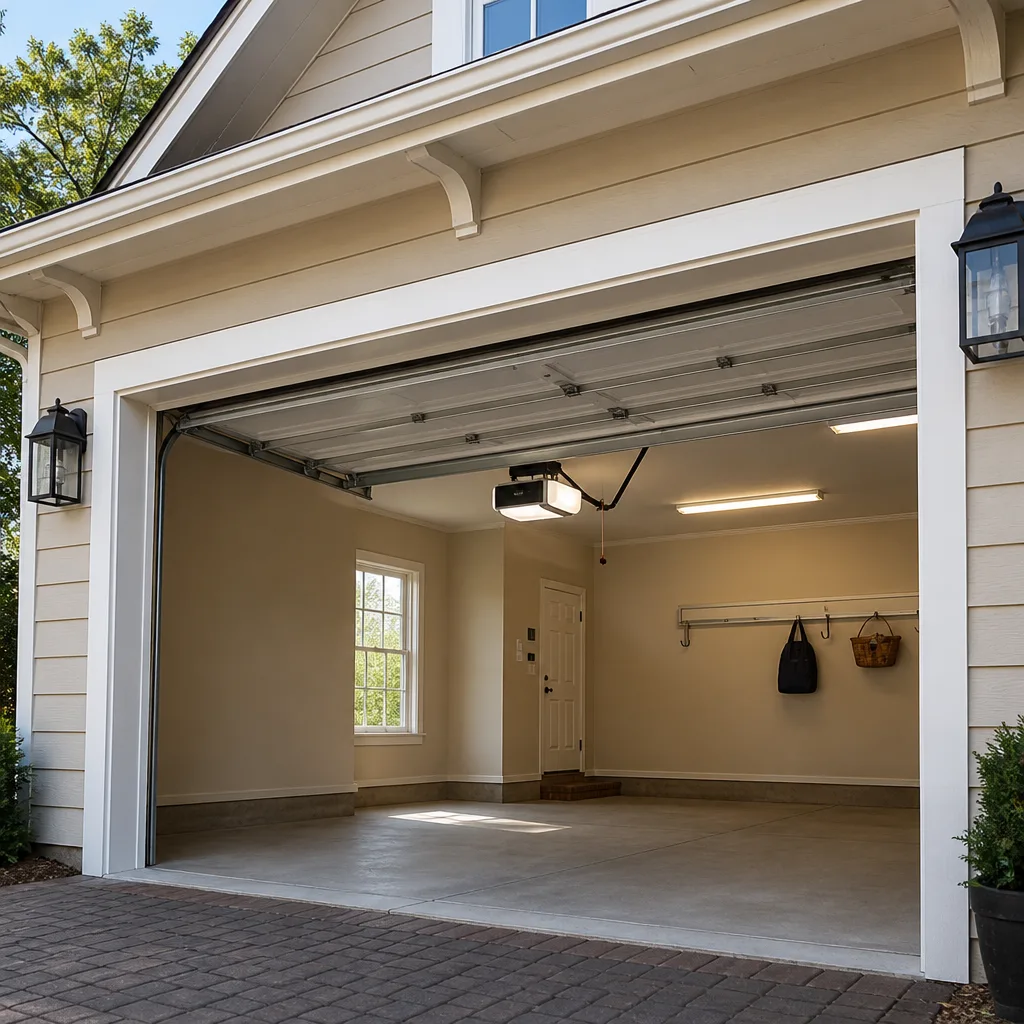 LiftMaster openers
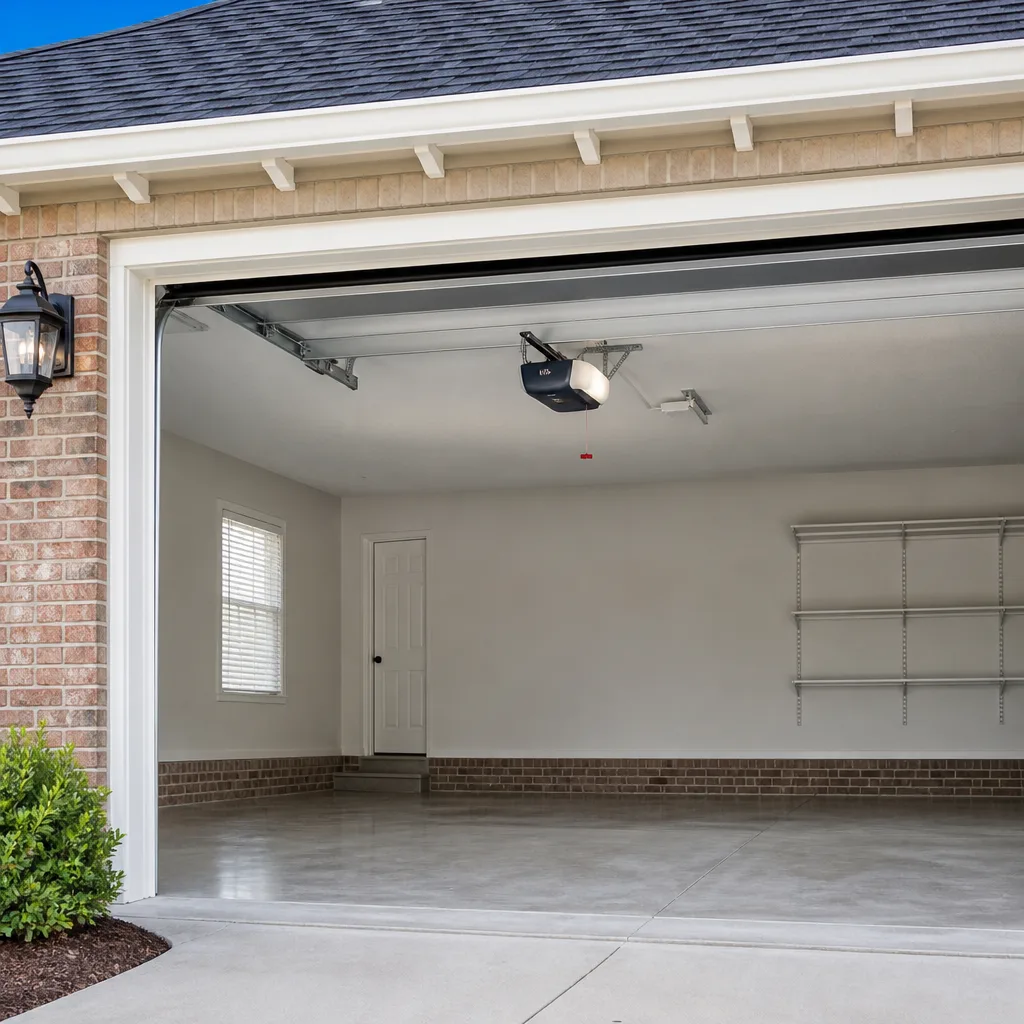 Chamberlain openers
Full 25-point door and opener safety check with every visit - springs, cables, rollers, tracks, and your LiftMaster or Chamberlain opener included
You get a price before we start. It does not change when the truck arrives.
Get your free estimateDIY vs Professional Garage Door: The East Los Angeles Homeowner’s Decision Guide
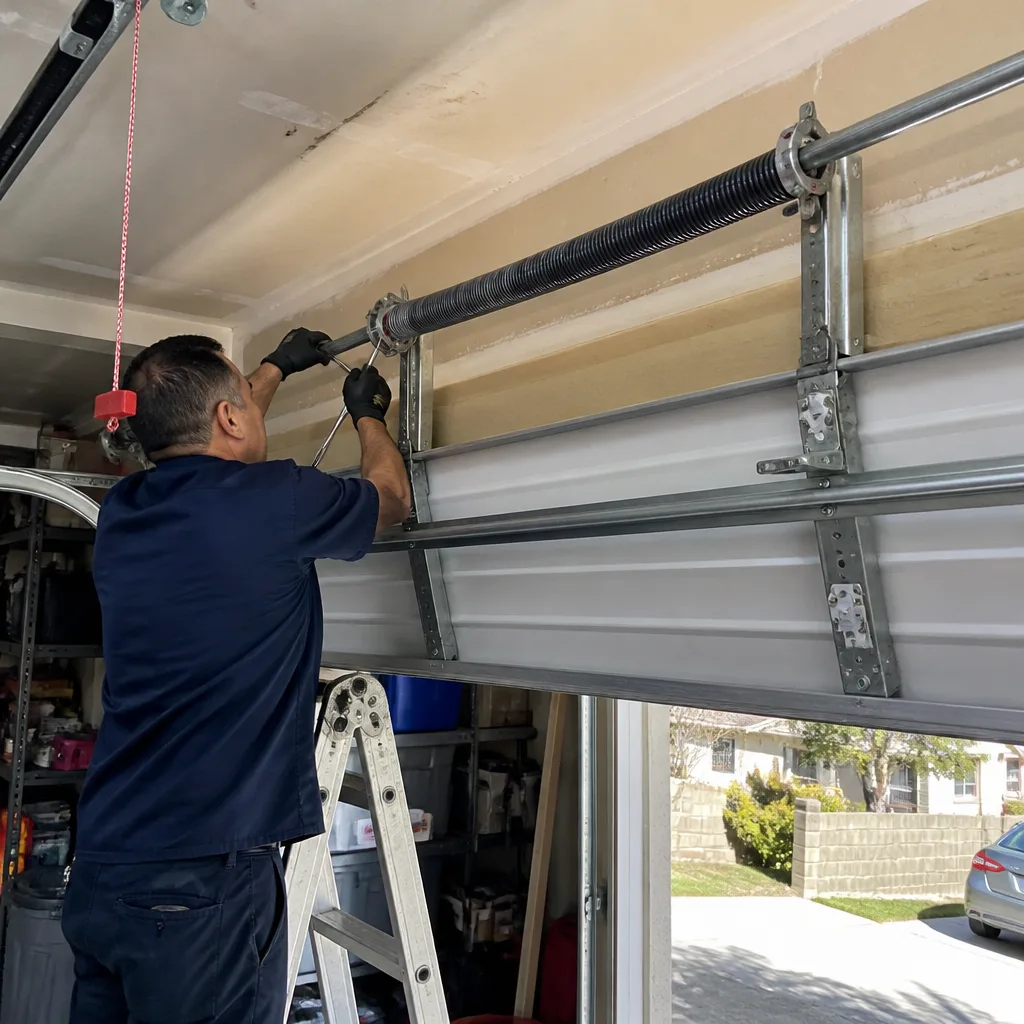
The garage door torsion spring is holding anywhere from 150 to 400 pounds of stored mechanical tension right now, even when the door is fully closed. That tension doesn’t care whether you’re a contractor or a curious homeowner with a YouTube tutorial queued up. The DIY content on this topic that racks up the most views is also the category with the most emergency room visits from attempted home repairs, and that’s not a coincidence. This guide draws a hard line, task by task, between what makes sense to handle yourself in East Los Angeles and what you should hand to someone who does this every day, and you can find more guides & resources on our blog.
Styles & brands we work with
- Raised-panel steel
- Carriage house
- Modern flush
- Full-view glass
- LiftMaster openers
- Chamberlain openers
Quick Answer
Most garage door maintenance tasks are safe for a capable East Los Angeles homeowner: lubrication, photo-eye alignment, track cleaning, and tightening loose hardware. Torsion spring replacement, cable work, and opener motor repair fall firmly on the professional side because the failure consequence is injury or property damage, not just a cosmetic flaw. The real question isn’t “can I do this?” but “what happens if I get it wrong?”
Table of Contents
- Risk Stratification: How to Think About Your Garage Door
- Safe DIY Tasks: What a Homeowner Can Handle
- Professional-Only Work: Springs, Cables, and Opener Motors
- The Warranty Trap: Tasks That Void Manufacturer Coverage
- East LA Housing Factors That Add Hidden Complexity
- What a Botched DIY Repair Actually Costs to Fix
- The Partial-DIY Approach: Preparing for a Service Call
- Common Mistakes to Avoid
- When to Call a Professional
- Frequently Asked Questions
- The Bottom Line
Risk Stratification: How to Think About Your Garage Door
The DIY-versus-professional debate gets framed as a cost question most of the time. That framing is wrong. The useful question is about failure consequence. If you lube a hinge and it still squeaks, you’re out twelve minutes and three dollars of lithium grease. If you unbolt a torsion spring and lose control of the winding bar, the bar becomes a projectile and your hand or face is in its path. Same category of decision, wildly different stakes.
We think about garage door work in three tiers. Tier one is maintenance: lubrication, cleaning, visual inspection, tightening bolts. The failure consequence is negligible and reversible. Tier two is adjustment: limit switches, photo-eye alignment, track alignment, opener force settings. The failure consequence is a door that doesn’t work correctly, maybe a damaged panel edge if you’re careless, but nothing that sends anyone to urgent care. Tier three is mechanical repair under tension: springs, cables, bottom brackets, opener motor internals, door sections that require spring compression to remove. The failure consequence is serious injury or a door that collapses onto a car, a person, or both.
Most homeowners in East Los Angeles can handle tier one without hesitation and most tier two tasks with a decent set of sockets and some patience. Tier three is where we tell people, plainly, to stop. Not because we want the work. Because we’ve repaired the aftermath of enough DIY tier-three attempts to know what it looks like.
Safe DIY Tasks: What a Homeowner Can Handle
There’s a real list of garage door work that doesn’t require a pro, and doing it yourself can meaningfully extend the life of your door. The key is knowing where that list ends.
Tasks that are genuinely safe for a capable homeowner:
- Lubricating moving parts – Spray white lithium grease on hinges, rollers, and the opener rail twice a year. Use a silicone-based spray on the torsion spring itself. East LA’s dry, dusty air means grit accumulates fast; if you live anywhere near the 710 or the 60, double the frequency.
- Cleaning and aligning photo-eye sensors – The little lenses at the bottom of each track get dusty and misaligned from bumping brooms, bikes, and bins. Wipe them with a dry cloth and check that both LED indicators stay solid when the beam is unbroken.
- Tightening loose hardware – The vibration from daily open-close cycles works hinge bolts, track brackets, and jamb fasteners loose over a year or two. A socket set and ten minutes every six months prevents most of it.
- Testing the auto-reverse safety feature – Place a 2×4 on its flat side under the door and close it. The door should reverse within two seconds of contact and return to fully open. If it doesn’t, the force setting needs adjustment, which is a tier-two task you can usually do yourself by turning the force dial on the opener motor about a quarter turn down and re-testing.
- Replacing remote batteries and reprogramming remotes – LiftMaster, Craftsman, and Chamberlain openers all have slightly different programming sequences, but the instructions are in the manual or a YouTube search away. No physical risk involved.
- Weatherstripping replacement – The rubber strip along the bottom of the door and the vinyl strips along the sides and top jamb degrade in heat and dry air. Replacement is unbolt-old, press-in-new, done in under an hour.
- Visual inspection – Look at the spring for gaps in the coil spacing, check cables for fraying, listen for grinding or rattling during operation, and note any jerky motion. Catching wear early is the single highest-value maintenance habit.
Every one of these tasks has a near-zero injury risk when done with basic attention, and the consequence of doing any of them wrong is an annoyance, not an emergency.
Professional-Only Work: Springs, Cables, and Opener Motors
Here’s the line. Torsion springs, extension springs, lift cables, bottom brackets, and the internal gears of an opener motor are not adjustable-by-amateur components. They are stored-energy and load-bearing components. The distinction matters.
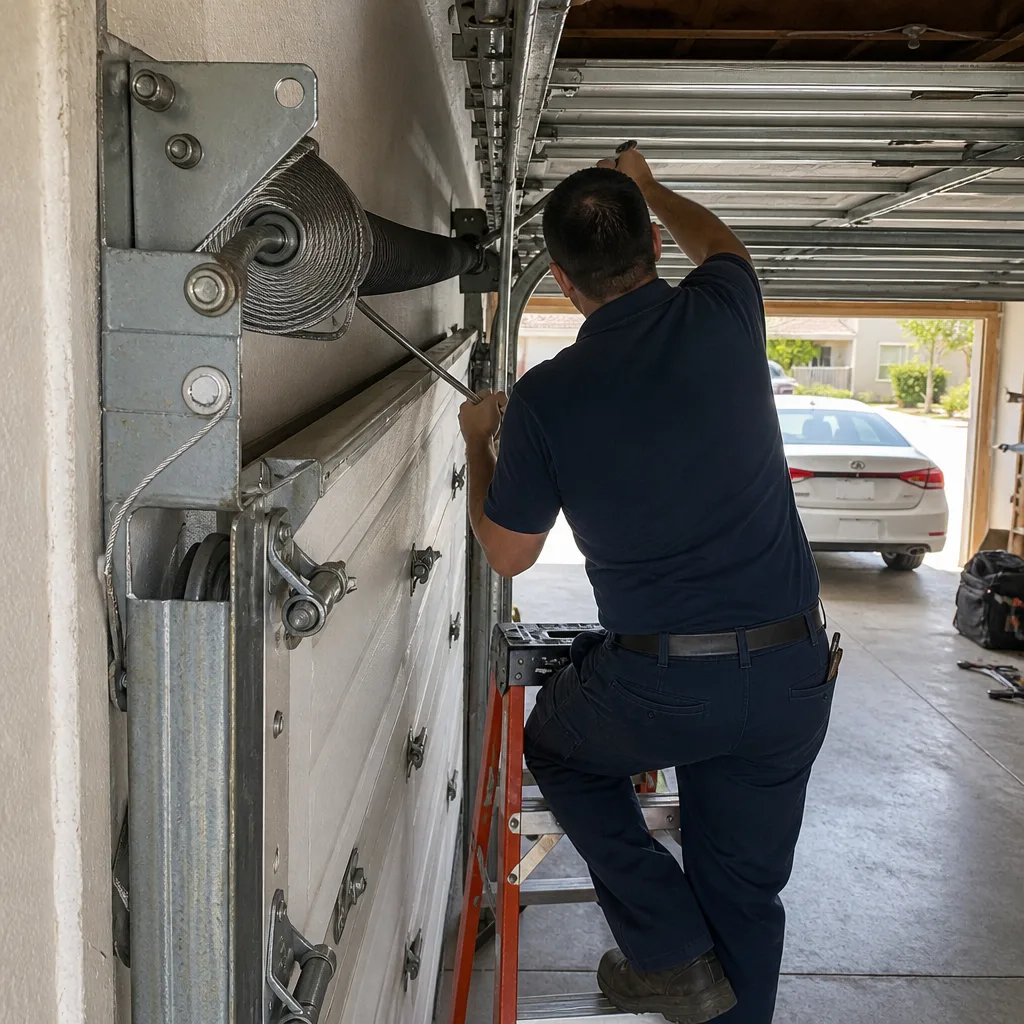
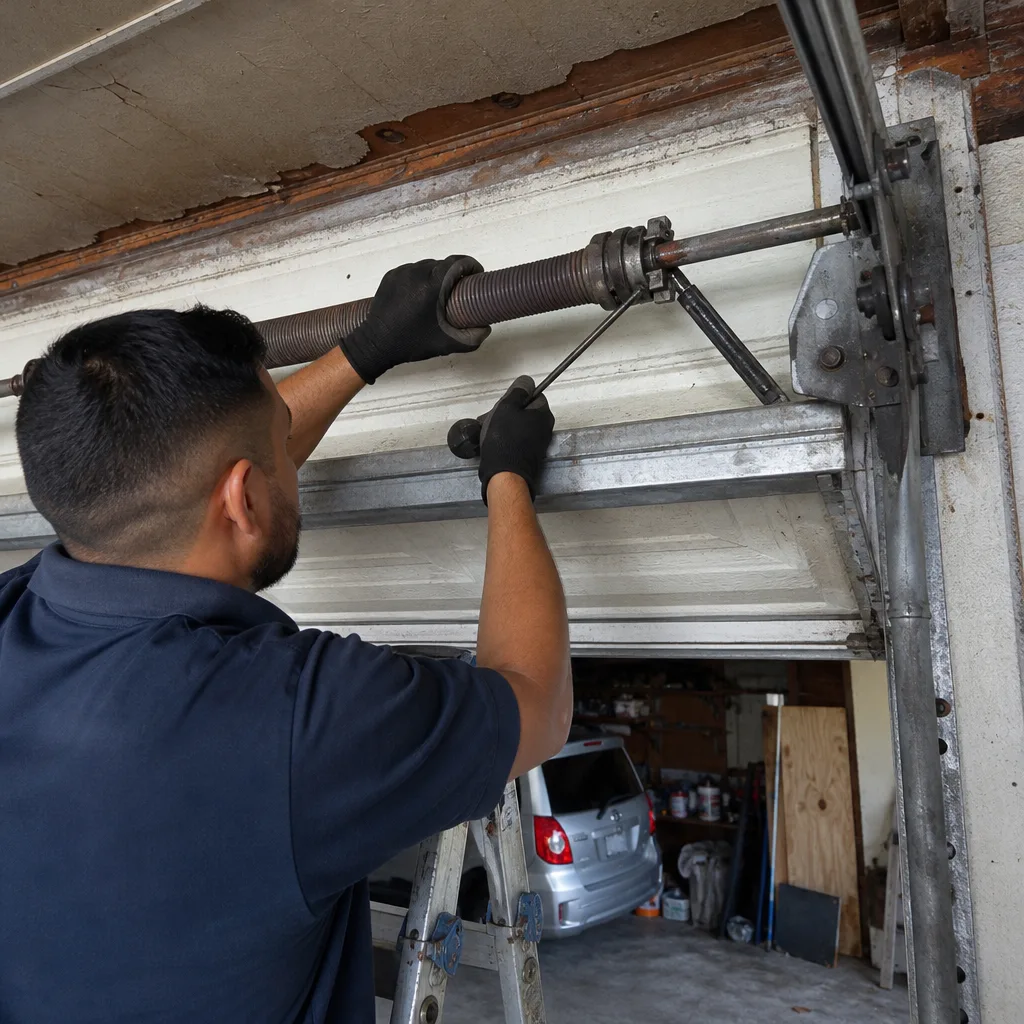
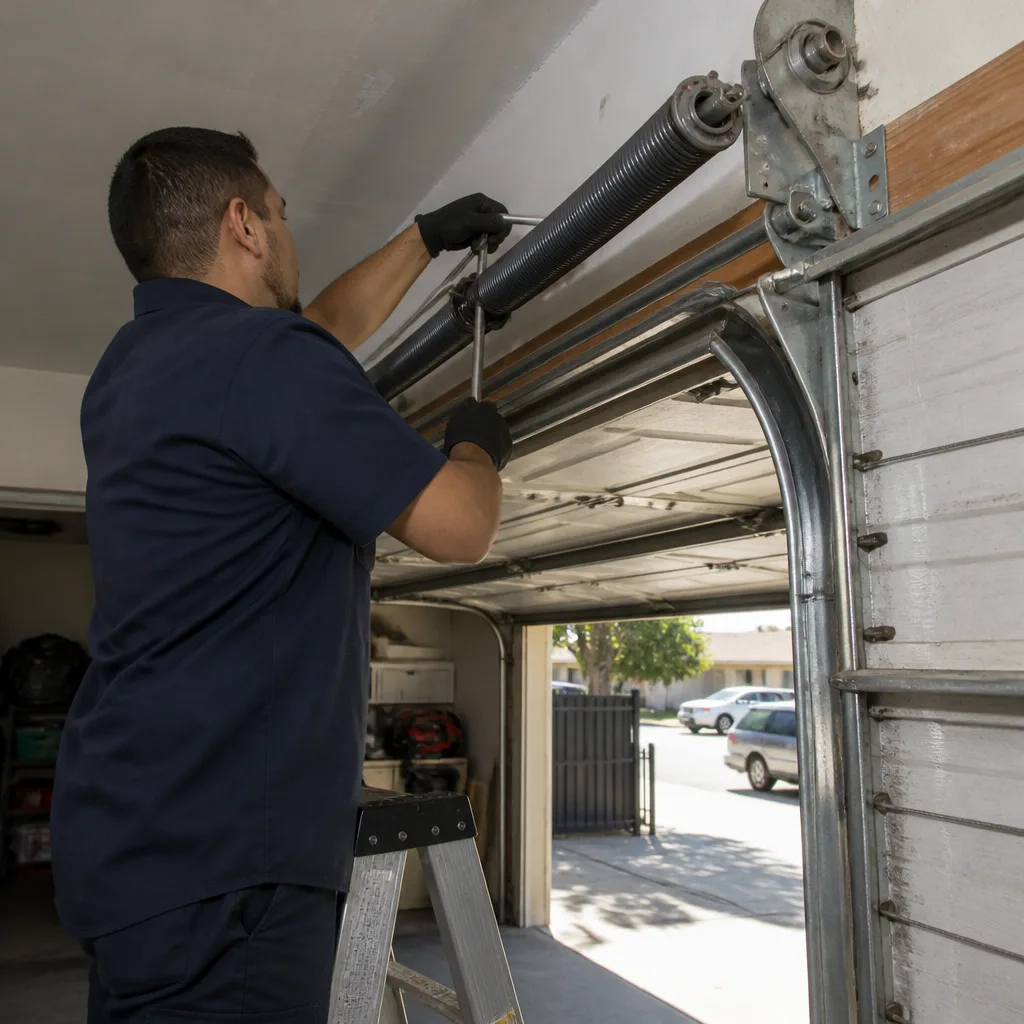
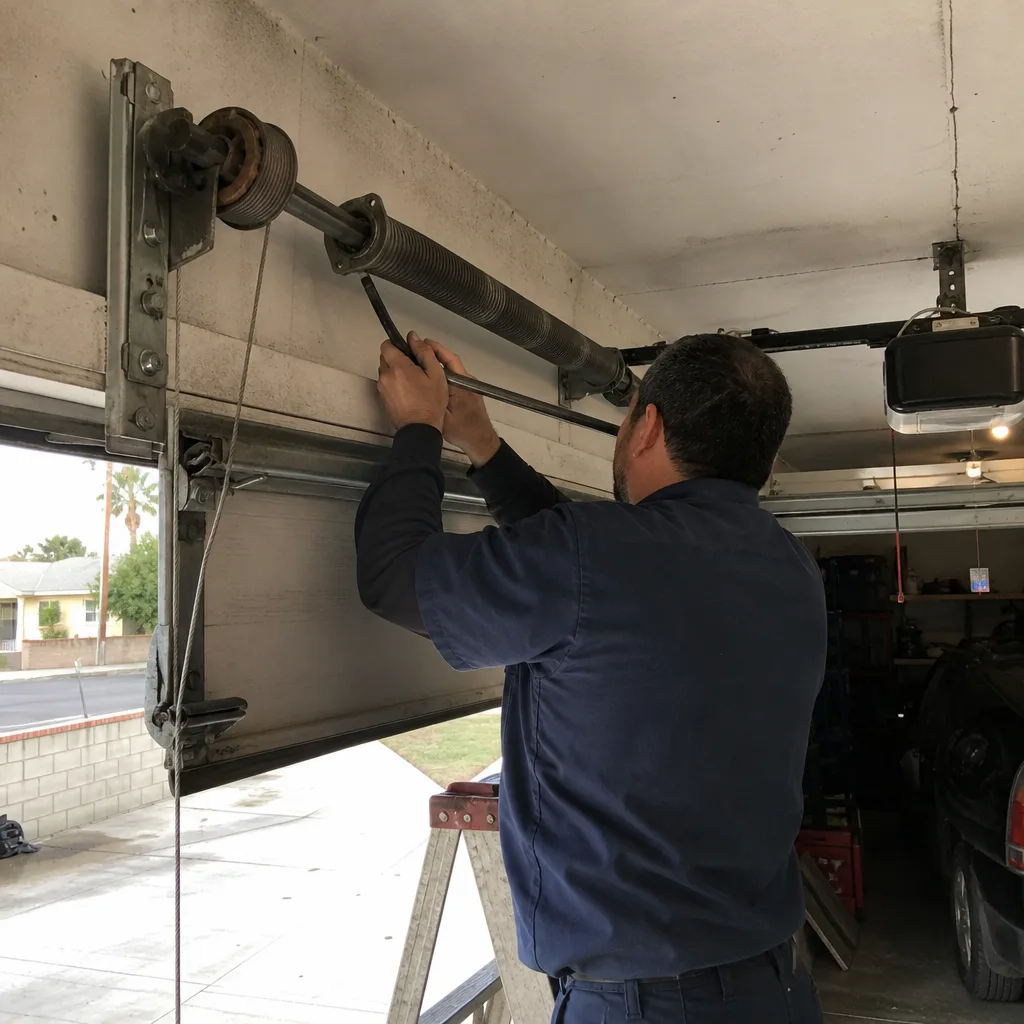
Torsion spring replacement. A torsion spring holds the full weight of your door in twisted tension. To replace one, you use steel winding bars inserted into a cone and rotate the spring under load. If the bar slips, it moves with enough force to break bone. If you don’t wind the spring to the correct number of quarter-turns for your door’s weight and height, the door either slams or won’t balance. Both outcomes create new damage on top of the original spring failure. No amount of careful YouTube watching replicates the physical feel that comes from doing this job hundreds of times.
Cable replacement. The lift cables run from the bottom brackets up to the drums at the top of the door. They carry the door’s full weight during travel. A fraying cable doesn’t snap while the door sits still; it snaps under load, which means the door drops or jams diagonally in the track. Working on cables requires releasing spring tension first, which puts you right back in the danger zone.
Opener motor repair. This one surprises people because an opener looks like a benign appliance. The danger is lower than springs, but the complexity is high. Modern LiftMaster openers have circuit boards, RPM sensors, and force profiles calibrated to the specific door. Opening the motor housing to replace a gear or a capacitor voids the warranty outright on several brands we service, including LiftMaster and Wayne Dalton models. And if you miswire the capacitor, you can fry the board, which turns a $150 repair into a $400 replacement.
Door section or panel replacement. A single panel replacement requires unbolting the section from the hinges, supporting the remaining door, and re-sequencing the rollers. On a door with torsion springs, the top section is under spring tension even when the door is down. This is not a one-person job.
We service doors from Wayne Dalton, Craftsman, Raynor, and LiftMaster among the eight brands we cover, and the same rule applies across every brand: if the component stores energy or carries load, it’s a professional repair.
The Warranty Trap: Tasks That Void Manufacturer Coverage
If your garage door is under five years old, there’s a decent chance you still have residual warranty coverage on the springs, the panels, or the opener. Most homeowners don’t realize that warranty language is specific about who can do the work. Here’s what the warranty documents from the brands we service actually say, in plain language.
- Wayne Dalton doors – The spring warranty is explicitly void if the spring is not installed by a trained professional. The language is unambiguous. If you replace a Wayne Dalton torsion spring yourself and it fails six months later, you’re buying the next one out of pocket.
- LiftMaster and Chamberlain openers – The motor and gear assembly warranty requires service by an authorized technician. Opening the motor housing and replacing internal parts yourself voids coverage on the entire opener, not just the part you touched.
- Craftsman openers – Older Craftsman units are out of warranty by now in most cases, but if you have one purchased within the warranty window, the same authorized-service language applies. The diagnosis is the valuable part here; the warranty may already be expired, but the repair decision is different if you know that before you start.
- Clopay and Amarr doors – Panel and hardware warranties generally require professional installation of any replacement part. The door itself may not have a lifetime warranty if the spring was replaced by a non-professional and a subsequent failure damages panels.
- Genie and Raynor openers – Similar authorized-service clauses for internal motor and gear work. The external components like remotes and safety sensors are homeowner-serviceable without voiding coverage.
The takeaway for an East Los Angeles homeowner: the $0 labor savings on a DIY spring or opener repair can cost you hundreds in voided warranty value on the parts you’re trying to save. This is a hidden cost that DIY tutorials never mention because they have no stake in your warranty.
East LA Housing Factors That Add Hidden Complexity
YouTube tutorials show a clean suburban garage with a standard seven-foot header and a door that’s been maintained since installation. That’s not what a lot of East Los Angeles garages look like. The housing stock here adds complexity that generic tutorials don’t address.
Older electrical panels and wiring. Much of East LA’s housing was built between 1920 and 1960. Garages in that era were often added or converted with whatever electrical service was available at the time. We’ve opened opener installations in City Terrace and Boyle Heights where the outlet for the opener was a two-prong ungrounded receptacle on a circuit shared with the kitchen. A modern LiftMaster smart opener draws more continuous current than a 1980s Craftsman chain-drive unit did. If you’re installing a new opener on old wiring, the electrical assessment is part of the professional job, and it’s a step most DIY guides completely omit.
Non-standard header heights and door sizes. A lot of East LA garages were built for cars from the 1950s and 1960s, which were lower and narrower than today’s SUVs. That means door openings that are 6’6″ or 7′ instead of 8′, springs rated for lighter doors, and track systems that may have been modified at some point by a previous owner. Spring sizing is calculated from door weight, not door width alone. If your door has been reinforced with added struts or has a heavy wooden panel from a repair in the 1990s, the correct spring is different from what a chart would say. Getting this wrong on a DIY spring replacement is exactly how you end up with a door that opens halfway and stops.
Alley-access constraints. A significant portion of East LA homes have detached garages accessed from the rear alley. These alleys are narrow, often unpaved or badly paved, and the garages themselves are frequently set back behind gates or fences. This matters for two reasons. First, the approach angle and working clearance around the door is tighter, which makes spring winding and cable work more physically awkward. Second, alley garages have less weather protection than attached garages, so the doors and hardware see more dust, more temperature swing, and more rapid wear. A door that would last 15 years attached to a house in Monterey Park might last 10 in an alley-access garage in Belvedere.
Security-specific considerations. East LA homeowners use their garages for more than parking. The garage is frequently a workshop, a storage room, or a semi-living space that’s part of the home’s usable square footage. A garage door that’s stuck open or closed isn’t just an inconvenience in that context; it’s a disruption to how the household functions. That raises the cost of a DIY failure beyond the repair bill.
What a Botched DIY Repair Actually Costs to Fix
Let’s put real numbers on this, because “you might hurt yourself” is a message people tune out, but “this is what it will cost when it goes wrong” is a message people remember. These are the typical ranges we see for remediation work in East Los Angeles.
| Scenario | Initial DIY Attempt | Remediation Cost | Professional Cost Originally |
|---|---|---|---|
| Torsion spring winding with wrong spring size | Bought the wrong-rated spring online for $60 | $420-$650 – remove wrong spring, measure door weight, install correct spring, rebalance door, repair any panel damage from unbalanced operation | $180-$340 for correct spring installed in one visit |
| Cable slipped off drum during DIY spring work | Cable went slack, door jammed in track | $250-$450 – reset cable, inspect for fray damage, replace if compromised, re-tension correctly, realign track if bent | $150-$250 for cable replacement done as part of a complete service |
| Opener force setting maxed out to “fix” a binding door | Door now closes too hard, auto-reverse fails | $180-$300 – rebuild opener force logic, replace gear if stripped by excessive torque, diagnose underlying door issue | $120-$200 for the original door balance adjustment |
| Panel removed to access spring without releasing tension | Door section fell, track bent, panel dented | $600-$1,100 – replace bent track, replace damaged section or panel, re-hang door | $180-$340 for the spring replacement without touching panels |
| Grease used instead of lithium spray on nylon rollers | Petroleum grease hardened, rollers seized | $120-$180 – replace seized nylon rollers, clean track | $0 to $25, the correct lubricant plus 15 minutes of homeowner time |
The pattern here is consistent: the remediation cost runs roughly two to four times what the professional service would have cost upfront, and that’s before accounting for the time the door was inoperable. For a household in East LA that depends on the garage daily, an extra two days of downtime has a cost too.
You can find detailed pricing context on our Garage Door Repair in East Los Angeles page.
The Partial-DIY Approach: Preparing for a Service Call
There’s a middle path that a lot of homeowners overlook. You don’t have to choose between doing everything yourself and doing nothing. There are specific preparation tasks you can do before the technician arrives that reduce billable labor time and give you a cleaner diagnosis, without any risk of injury or warranty voiding – think of it as Garage Door Emergency Preparedness for your East Los Angeles home. This is what we recommend to friends and family.
- Take clear photos and video. Film the door opening and closing from inside the garage, and get close-up shots of the springs, cables, and track. The noise the door makes, the way it moves, where it hesitates, these are all diagnostic signals we can use before we even arrive.
- Note the model number of the opener and the door. The opener model is printed on the motor housing. The door brand is usually stamped on the inside of a panel or on the door edge. Having this ready saves us five to ten minutes of identification and lets us verify parts availability before dispatch.
- Clear the working area. Move bikes, boxes, and anything stored within four feet of the door tracks and the opener motor. We can work around clutter, but every minute we spend moving your things is a minute on the clock.
- Test the door manually with the emergency release. Pull the red release cord and try lifting the door by hand. If it lifts smoothly and stays up, the springs are likely fine and the issue is in the opener. If it’s heavy or drops, the springs or cables are the problem. This one test cuts through about half the diagnostic guesswork.
- Check the breaker and the outlet. If the opener is completely dead, confirm the breaker hasn’t tripped and the GFCI outlet hasn’t popped. We’ve driven to more than one East LA home for a “dead opener” that was a tripped breaker in the main panel.
- Write down the symptom timeline. When did it start? Was it sudden or gradual? Has anyone adjusted anything recently? A crisp symptom history is more useful than a five-minute verbal reconstruction on the phone.
None of these tasks involves touching a spring, a cable, or the opener motor internals. You’re reducing billable labor time by doing the work of an intake form, not the work of a technician. That’s the smart kind of DIY.
For opener-specific issues, our Garage Door Opener Repair in East Los Angeles guide covers what happens during a professional opener service call.
Common Mistakes to Avoid
- Using the wrong lubricant. WD-40 and general-purpose grease are not garage door lubricants. WD-40 is a solvent and will strip existing lubricant. Grease attracts dust and gums up nylon rollers. Use white lithium grease for metal-to-metal contact and silicone spray for springs and rollers.
- Thinking the red emergency release cord releases the spring tension. It doesn’t. It disengages the door from the opener carriage so you can lift the door manually during a power outage. The spring tension is still fully loaded. Pulling that cord doesn’t make the system safe to work on.
- Using screwdrivers or rebar as substitute winding bars. Winding bars are hardened steel rods sized precisely to the winding cone sockets. A screwdriver can snap under load and a piece of rebar can slip out. Both outcomes put your hands directly in the path of an unwinding spring.
- Reconnecting the opener to a door after a DIY spring job without rebalancing. An unbalanced door overstresses the opener gear and forces the motor to work against a load it wasn’t rated for. The opener fails within months, and that’s a second repair bill that feels unrelated to the first.
- Ignoring a fraying cable because the door “still works.” Cables fail catastrophically, not gradually. The fray spot you see today is a snapped cable next week. The door drops diagonally when it goes, which bends track, damages panels, and can drop the door onto anything in its path.
- Watching a tutorial for the wrong door type. Extension-spring systems and torsion-spring systems are entirely different mechanisms with different tools and different safety profiles. A guide for one applied to the other is a recipe for a bad afternoon.
- Buying a replacement spring from an online marketplace without checking the weight rating. Generic springs sold online are frequently size-equivalent but not weight-equivalent. The correct spring is matched to the actual weight of your door, including any struts, insulation, or added panels. Installing a mismatched spring is worse than not replacing it at all.
When to Call a Professional
The decision rule is simple. If the component stores energy, carries load, or controls the safe travel of a door that weighs between 150 and 400 pounds, call someone who does this for a living. Spring replacement, cable repair, opener motor work, track realignment after impact, and panel replacement all fall into that category. If the door is making a new noise you can’t identify, that’s also a call, because a new noise means something is wearing or shifting, and early diagnosis is dramatically cheaper than post-failure repair. Preston Garage Door Repair offers free estimates in East Los Angeles and covers all eight major brands, including Wayne Dalton, LiftMaster, Craftsman, and Raynor, on one call. Whatever brand is on your door, we know it. Call (833) 573-5280.
Frequently Asked Questions
Replacing a torsion or extension spring requires working with stored energy that can cause serious injury if control is lost, and the spring must be sized precisely to your door’s weight to function safely. This is professional work on any brand, including Wayne Dalton, LiftMaster, Craftsman, and Raynor. Call (833) 573-5280 for a free estimate in East Los Angeles.
Spring replacement in East Los Angeles typically runs between $180 and $340 including parts and labor, depending on the door weight, spring type, and whether you need one spring or a matched pair. Exact pricing depends on the door on your property. Call (833) 573-5280 for a quote.
You can lubricate moving parts with lithium grease and silicone spray, clean photo-eye sensors, tighten loose bolts, test the auto-reverse safety feature, replace weatherstripping, and reprogram remotes without any professional help. These tasks all have a negligible failure consequence and require no special tools beyond a socket set and a spray can.
Yes, on most brands. Wayne Dalton, LiftMaster, Chamberlain, Genie, and Raynor warranties all include language requiring professional installation of springs, internal opener components, and in many cases track and panel hardware. A DIY spring or opener repair can void coverage on parts that would otherwise be replaced free.
A professional torsion spring replacement on a standard East Los Angeles garage door is typically completed in 45 to 90 minutes, including balancing the door and confirming the opener’s force settings are correct. We carry common spring sizes on the truck, so most jobs are completed in one visit.
Alley-access garages in East Los Angeles get more dust, wider temperature swing, and less weather protection than attached suburban garages, which accelerates wear on rollers, cables, and weatherstripping. Older electrical service and non-standard door sizes from mid-century construction also add stress to opener systems that were retrofitted rather than purpose-built.
Take photos and video of the door operating, note the opener and door model numbers, clear the working area around the tracks, test the door manually with the emergency release, and check the breaker and GFCI outlet. These preparation steps reduce billable labor time and give us a faster diagnosis. Call (833) 573-5280 to schedule in East Los Angeles.
The Bottom Line
The smart DIY-versus-professional decision for your garage door isn’t about cost; it’s about failure consequence. Lubrication, sensor cleaning, hardware tightening, and weatherstripping are safe DIY tasks that extend door life and cost almost nothing. Springs, cables, opener internals, and panel work are professional jobs because the failure mode is injury or property damage, and a botched attempt costs two to four times what the professional service would have cost from the start. East LA’s older housing stock and alley-access garages add complexity that generic tutorials don’t cover. Use the partial-DIY approach for preparation, leave the stored-energy work to people who do it daily, and you’ll come out ahead on both safety and cost. For installation decisions and full replacement options, see our Garage Door Installation in East Los Angeles page, or start from our Preston Garage Door Repair home page for a full overview of services.
Written by the team at Preston Garage Door Repair, serving East Los Angeles since 2018.
See the difference
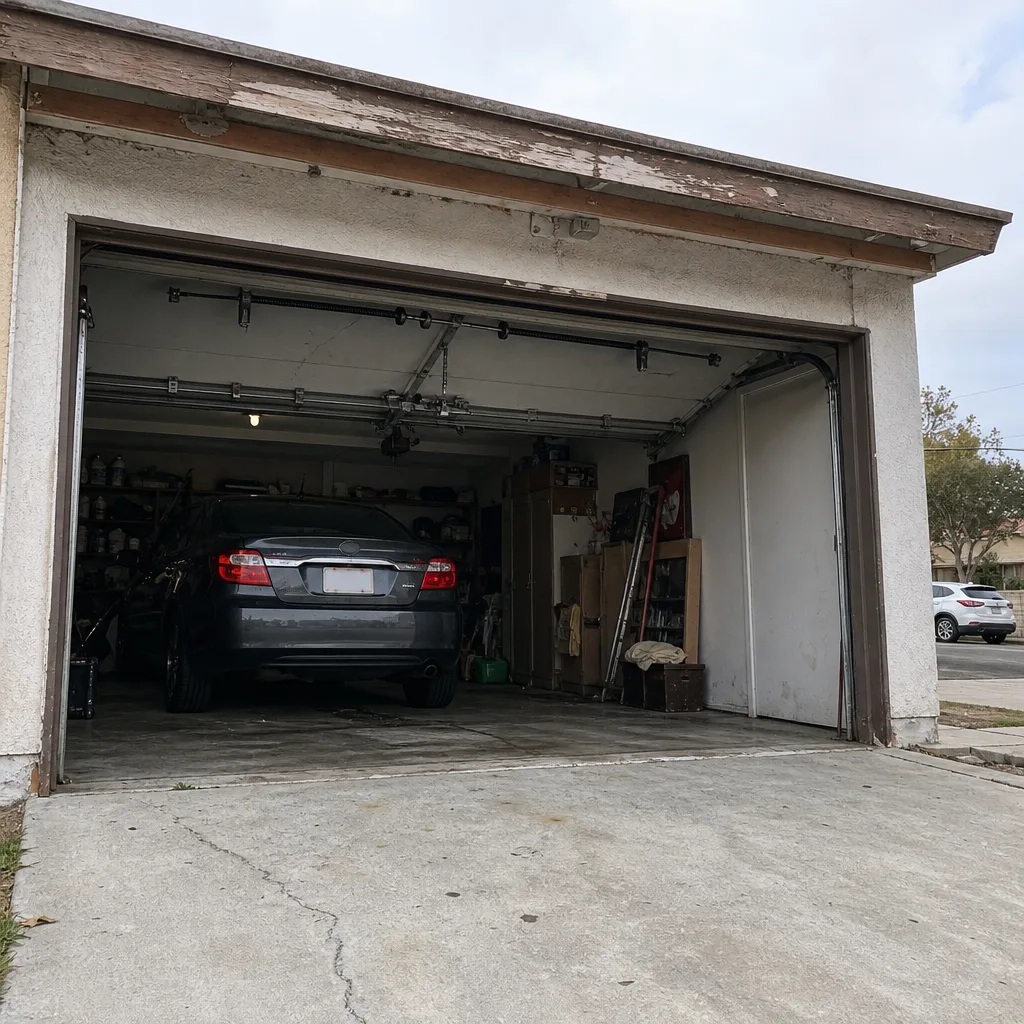 Before
 After
 Before
 After
 Before
 After